

MISHUB Setup Manual
Assemble the MISHUB trainer and connect the camera and light source.
Welcome to the step-by-step assembly guide for the MISHUB. This guide will walk you through the step-by-step assembly process. the assembly process.
Before you begin, take a moment to review the package's contents and acquaint yourself with the included components. The following content has been crafted to provide you with all the insights required to transform individual parts into a functional and invaluable tool for honing your surgical skills.
Step 1
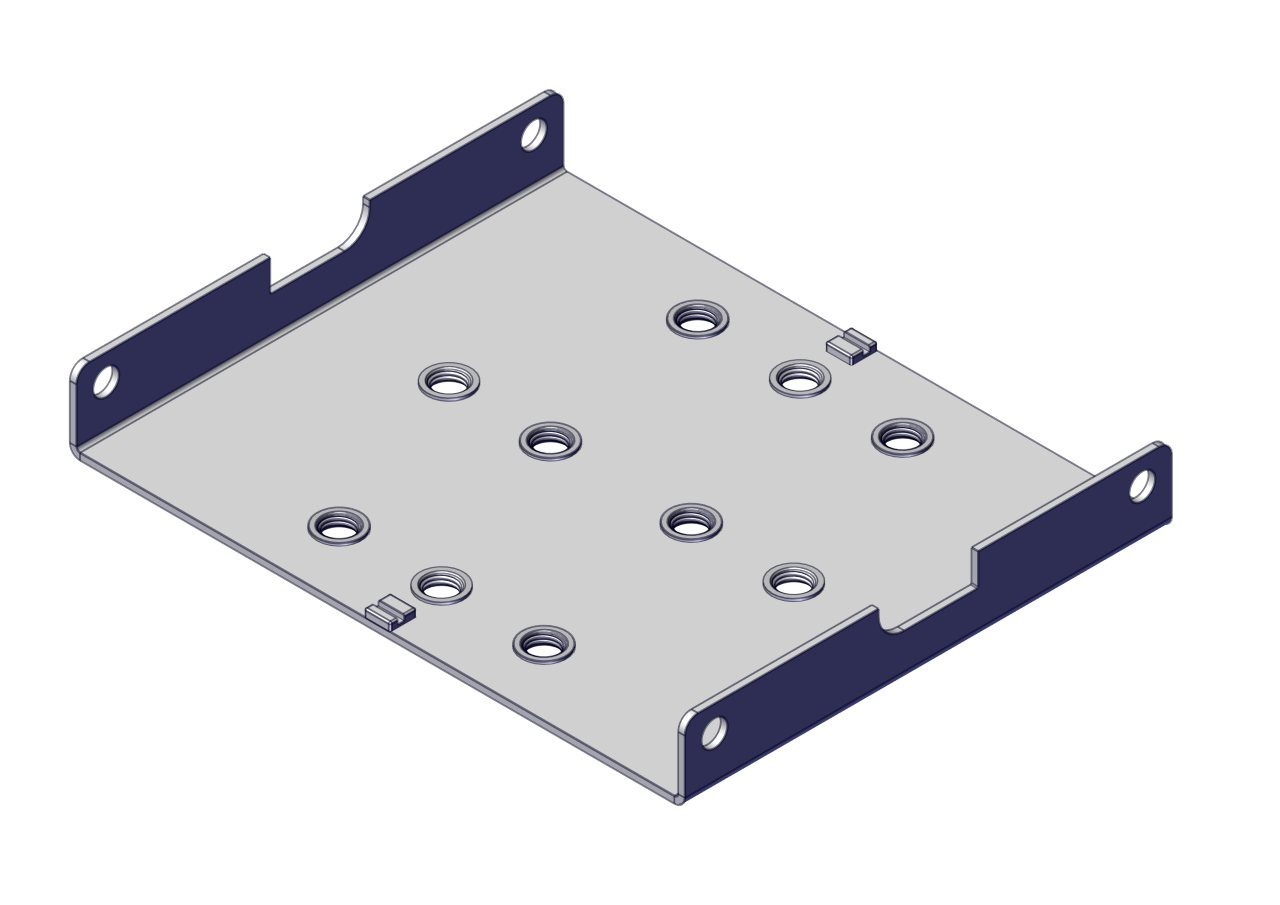
Place the MISHUB base plate on a stable, flat surface.
Step 2
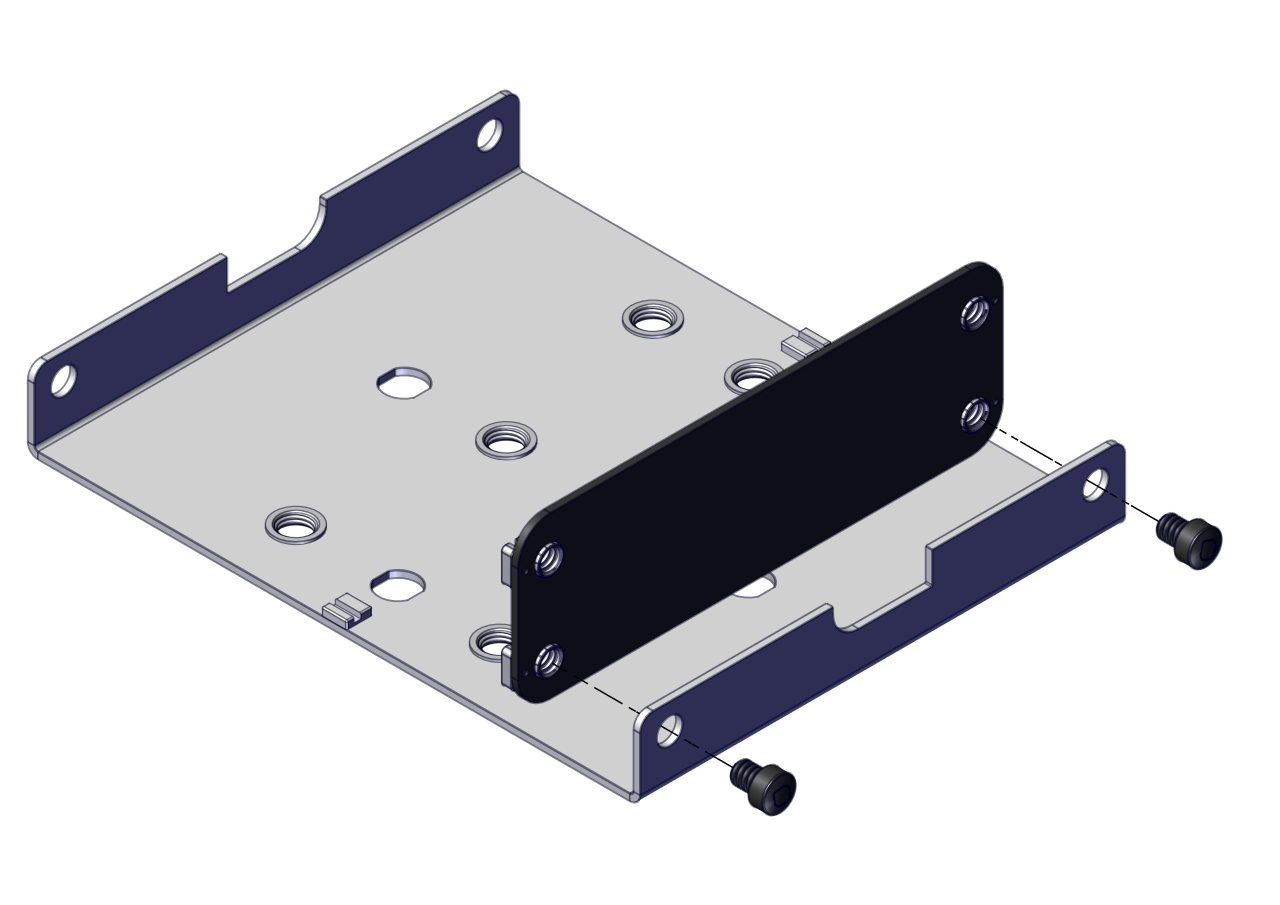
Position the front panel against the front edge of the base plate.
Step 3
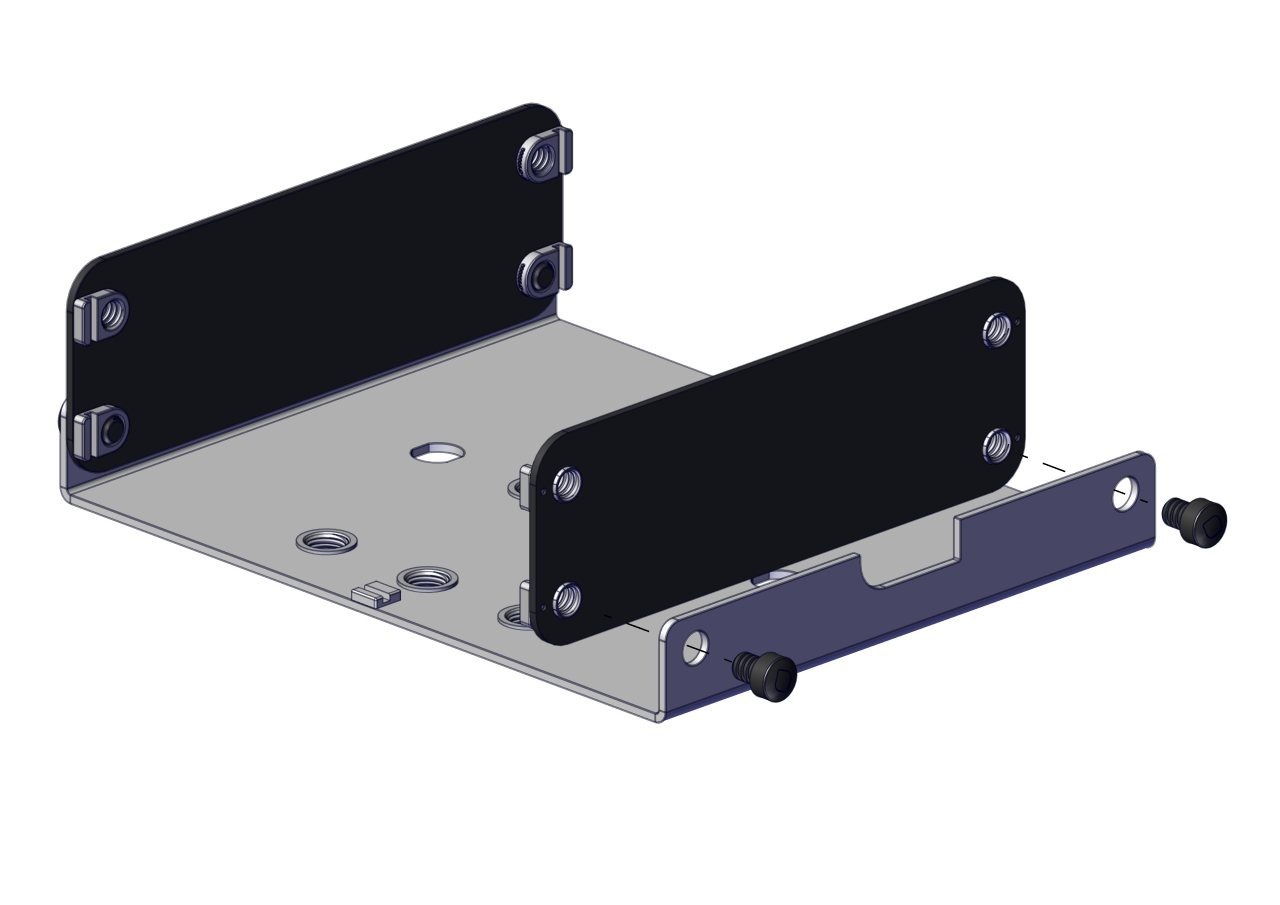
Position the rear panel at the back of the base plate.
Step 4
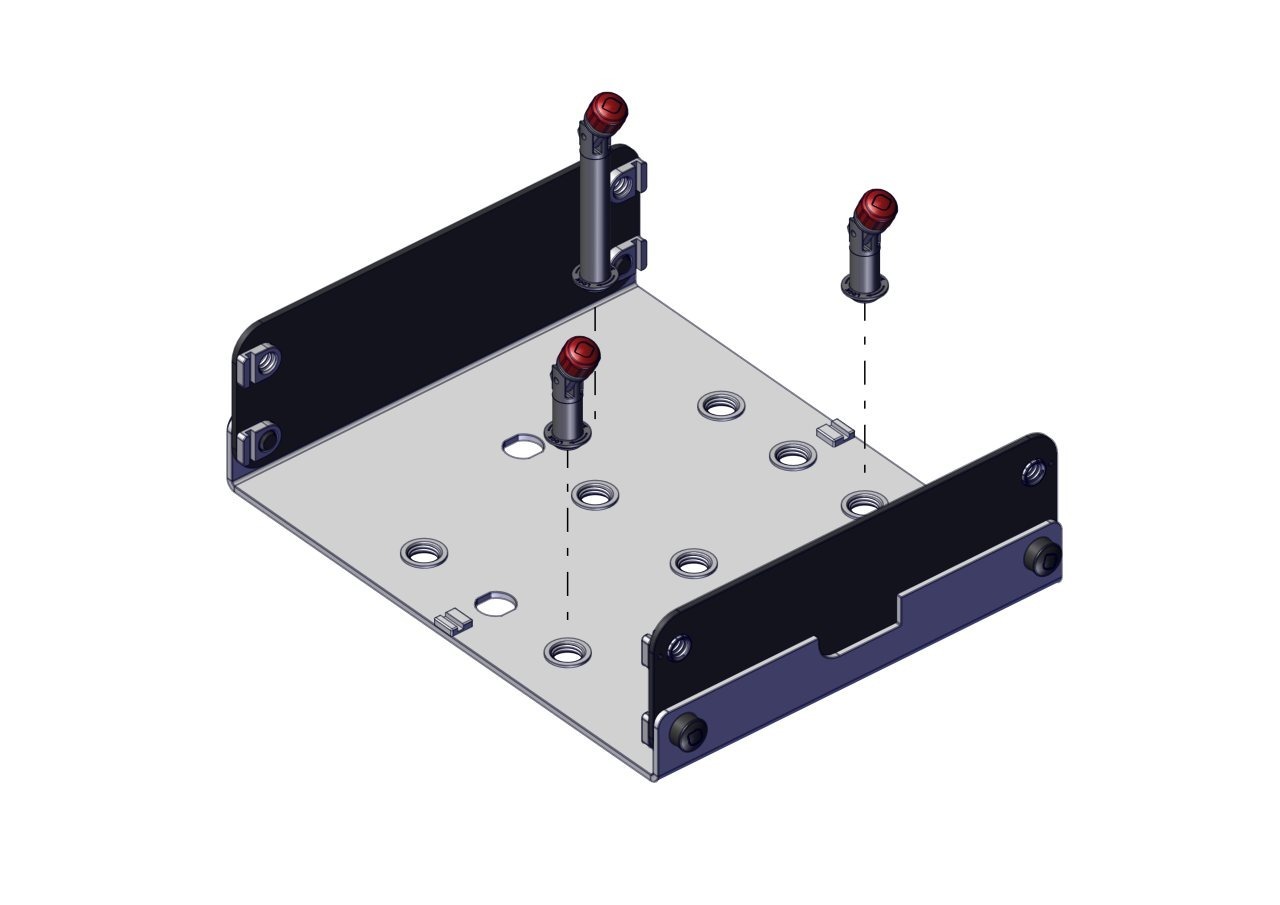
Insert the pillars into the designated mounting holes on the base plate.
Step 5
Slide the left and right side panels into the locating tabs on the base plate.
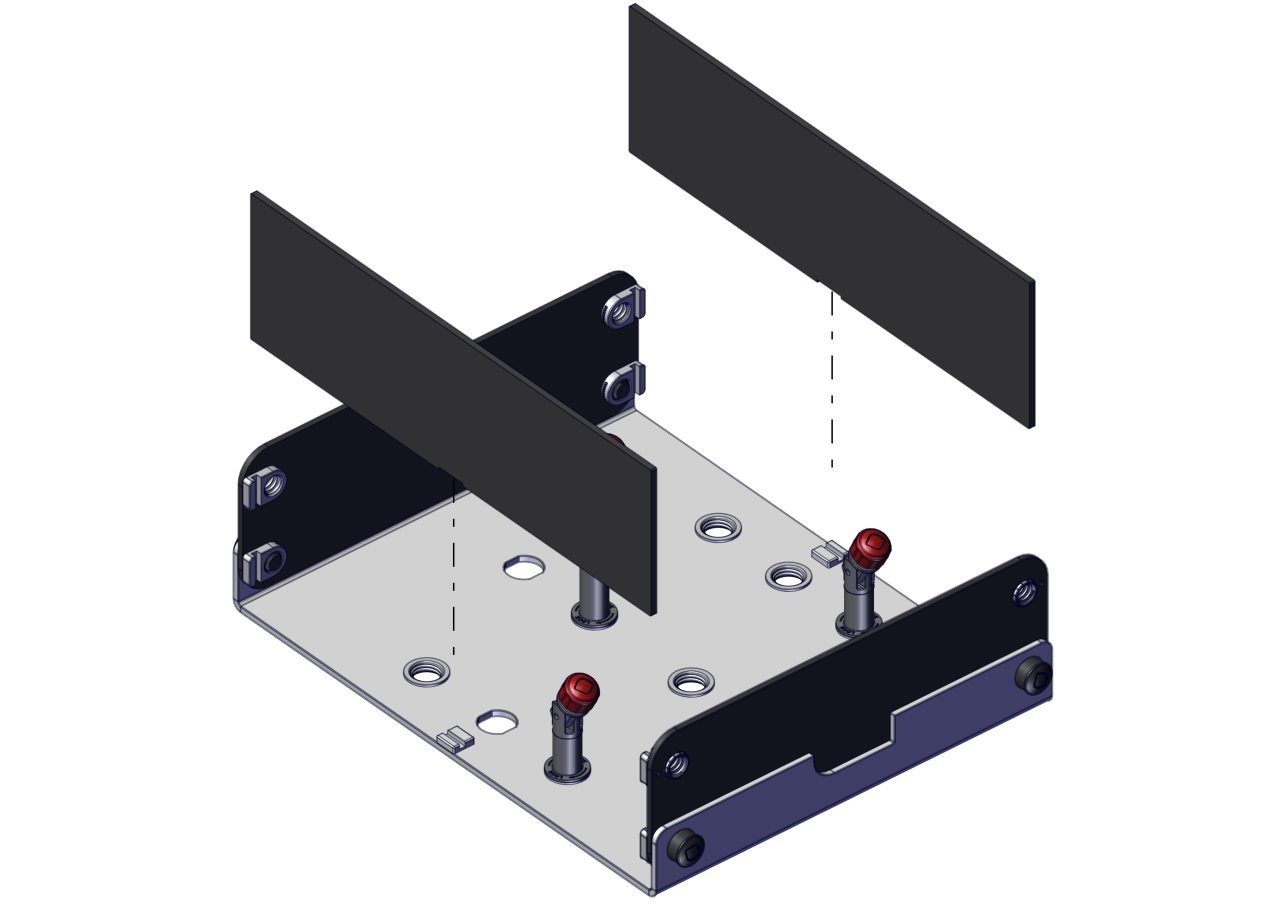
Step 6
Position the model mounting jig (MMJ) onto the central post.
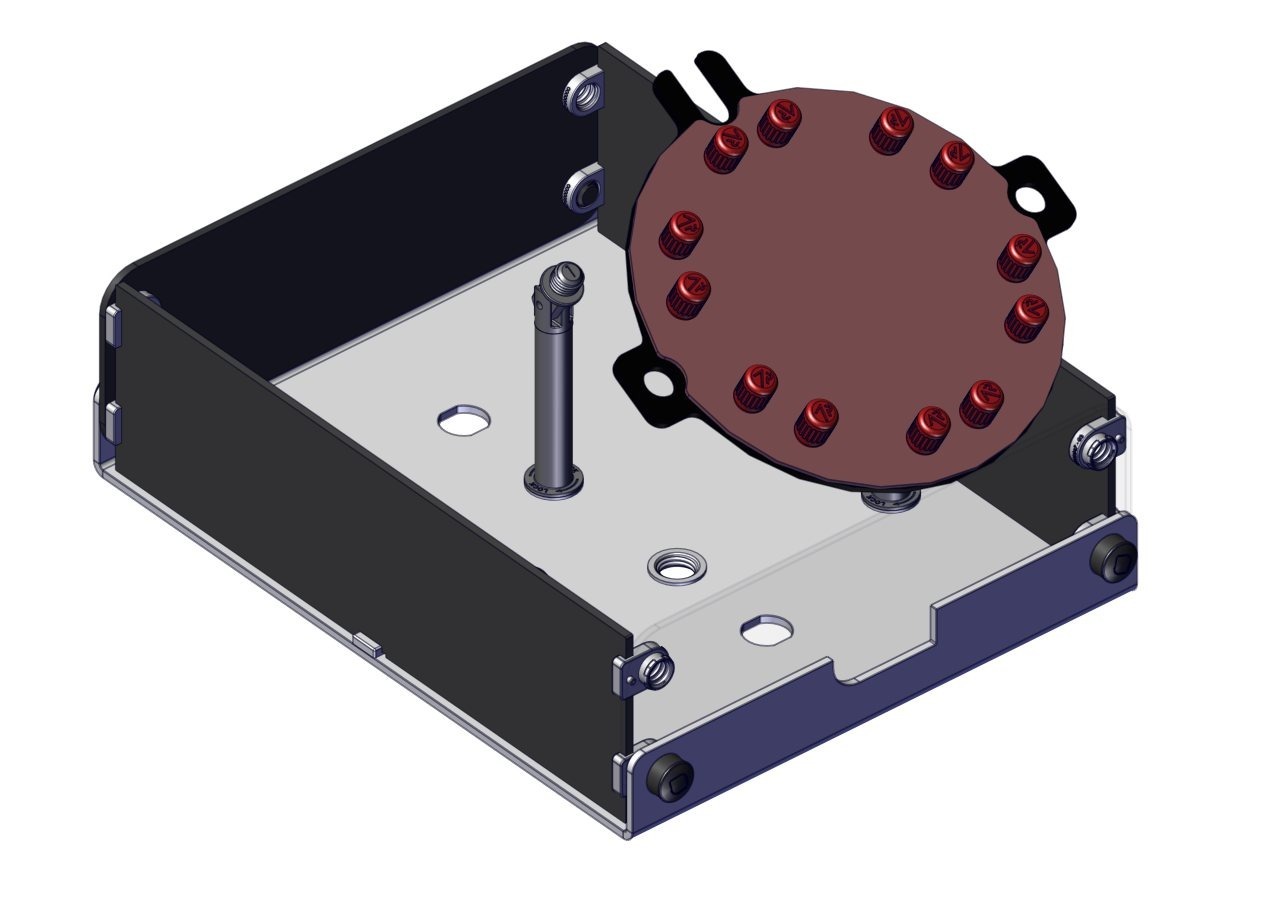
Step 7
Secure the model mounting jig with the red pillar caps.
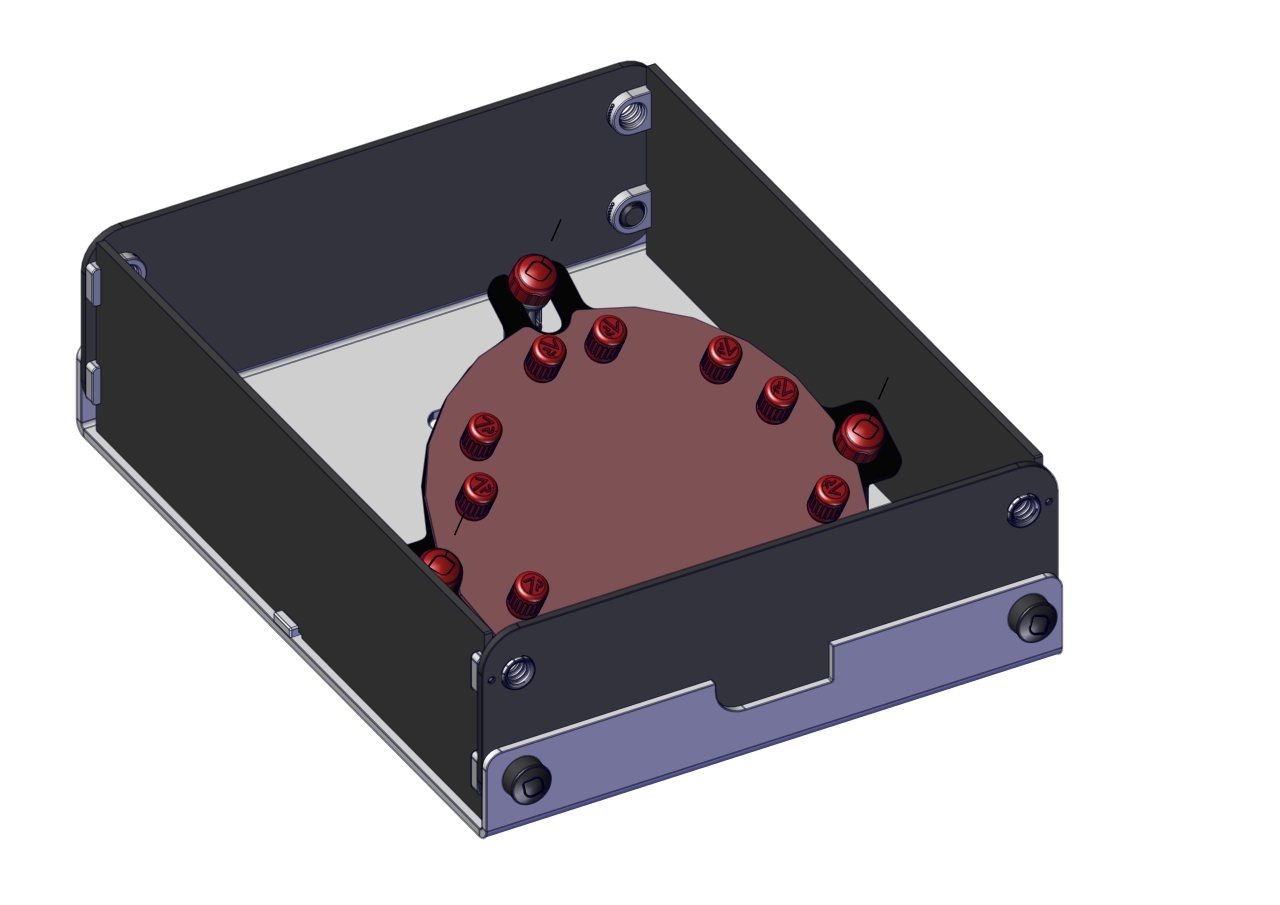
Step 8
Alternative model mounting jig configuration.
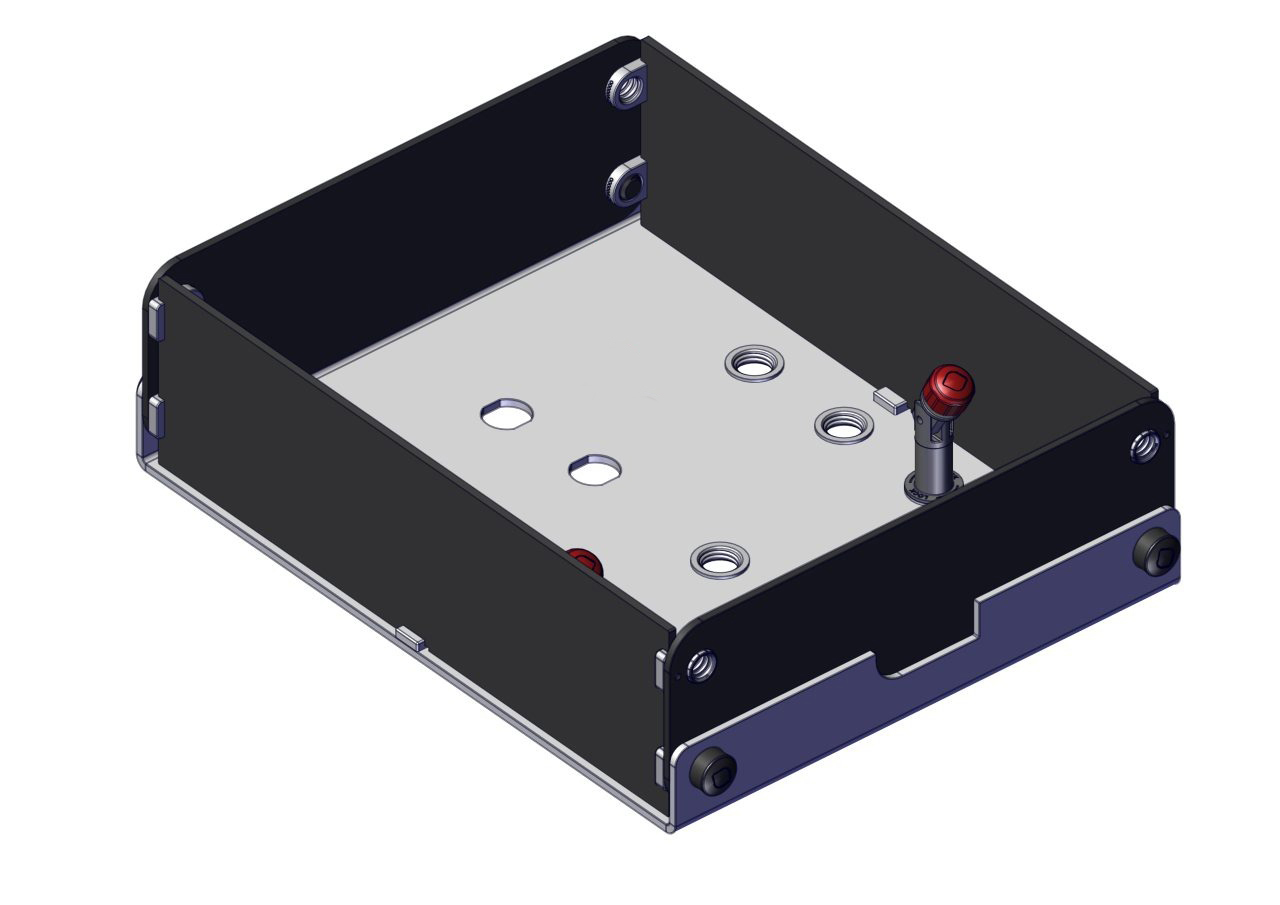
Step 9
Insert the short pillar in the rear slot previously taken up by the tall pillar.
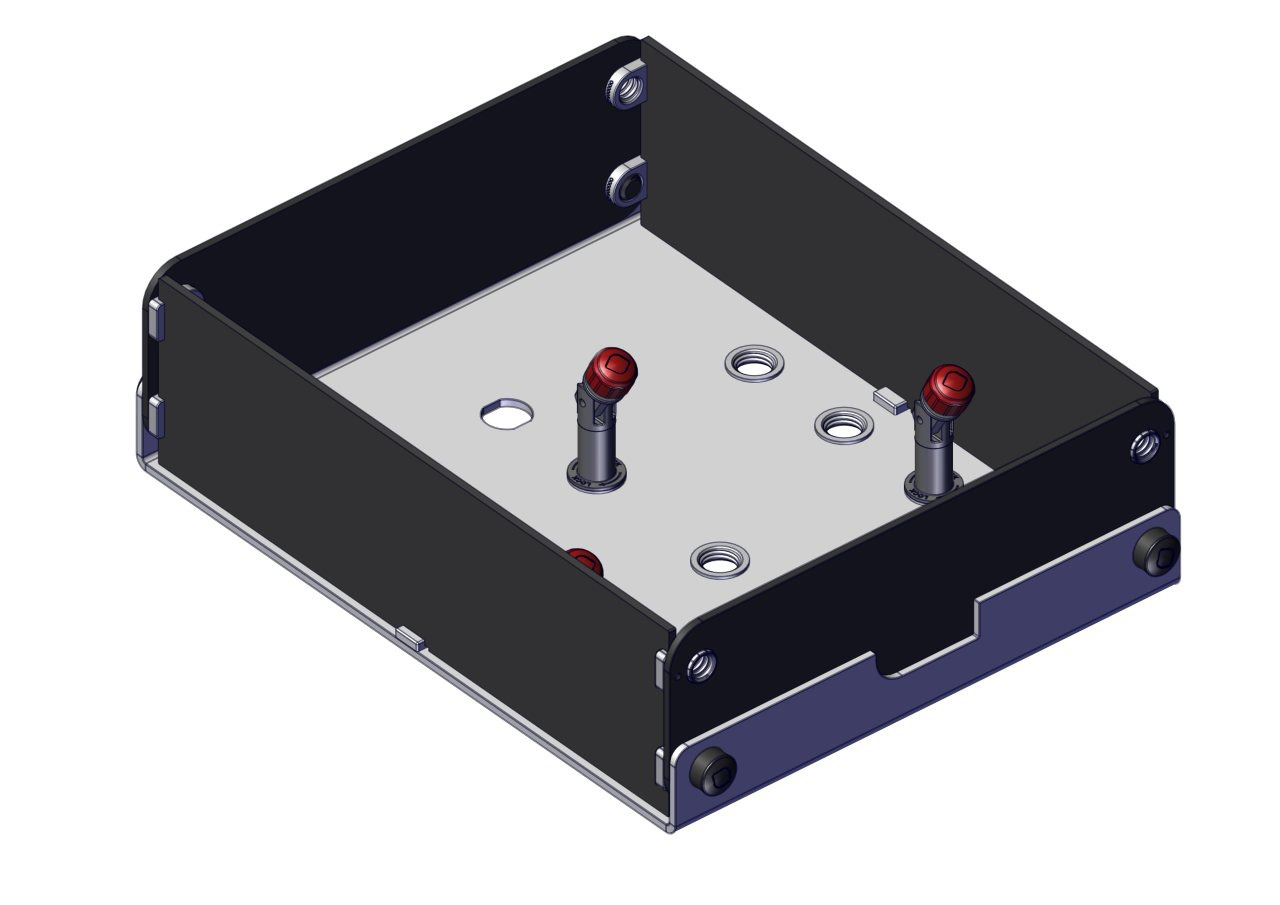
Step 10
Position the model mounting jig onto the central post and secure it using the red pillar caps.
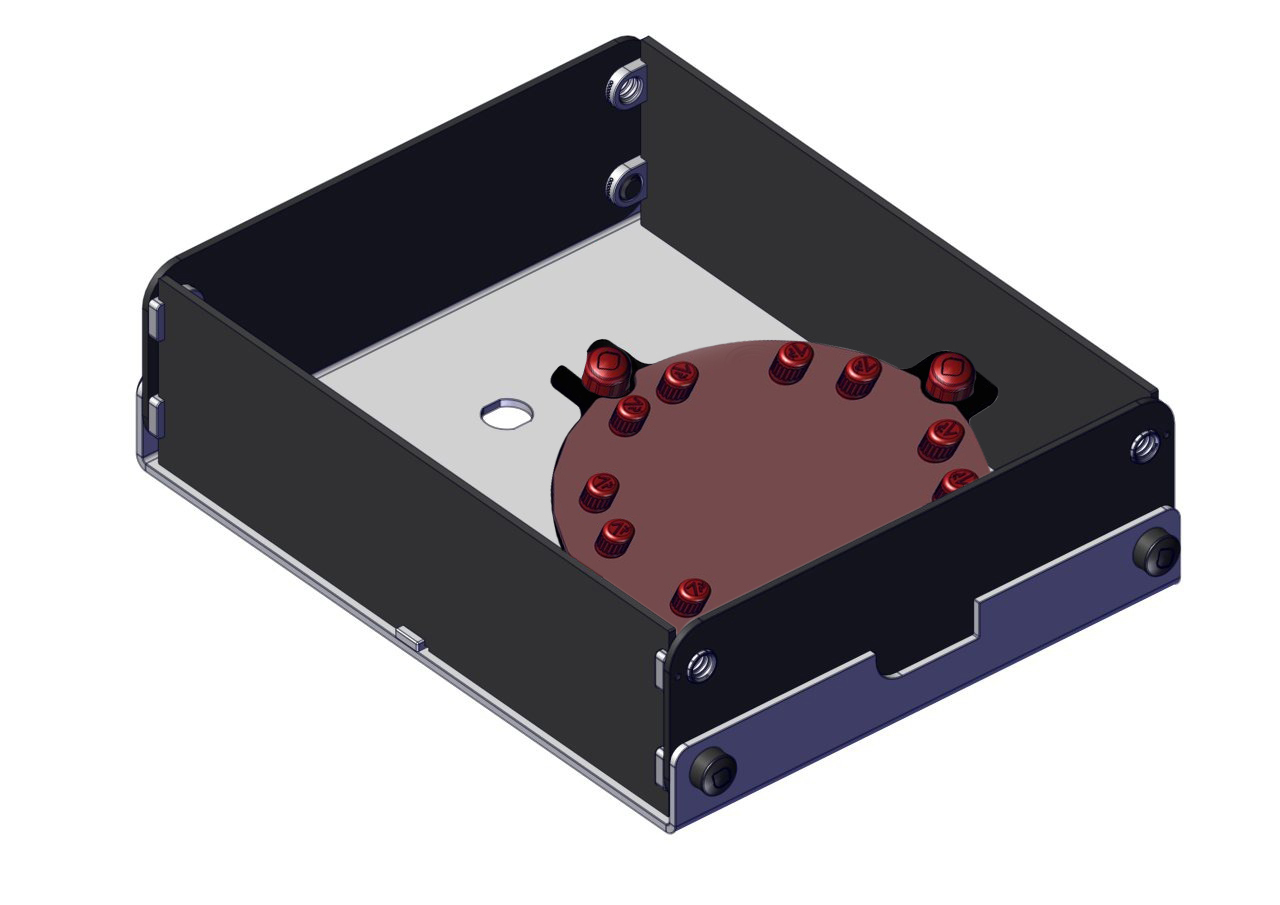
Step 11
Place the top cover onto the trainer body.
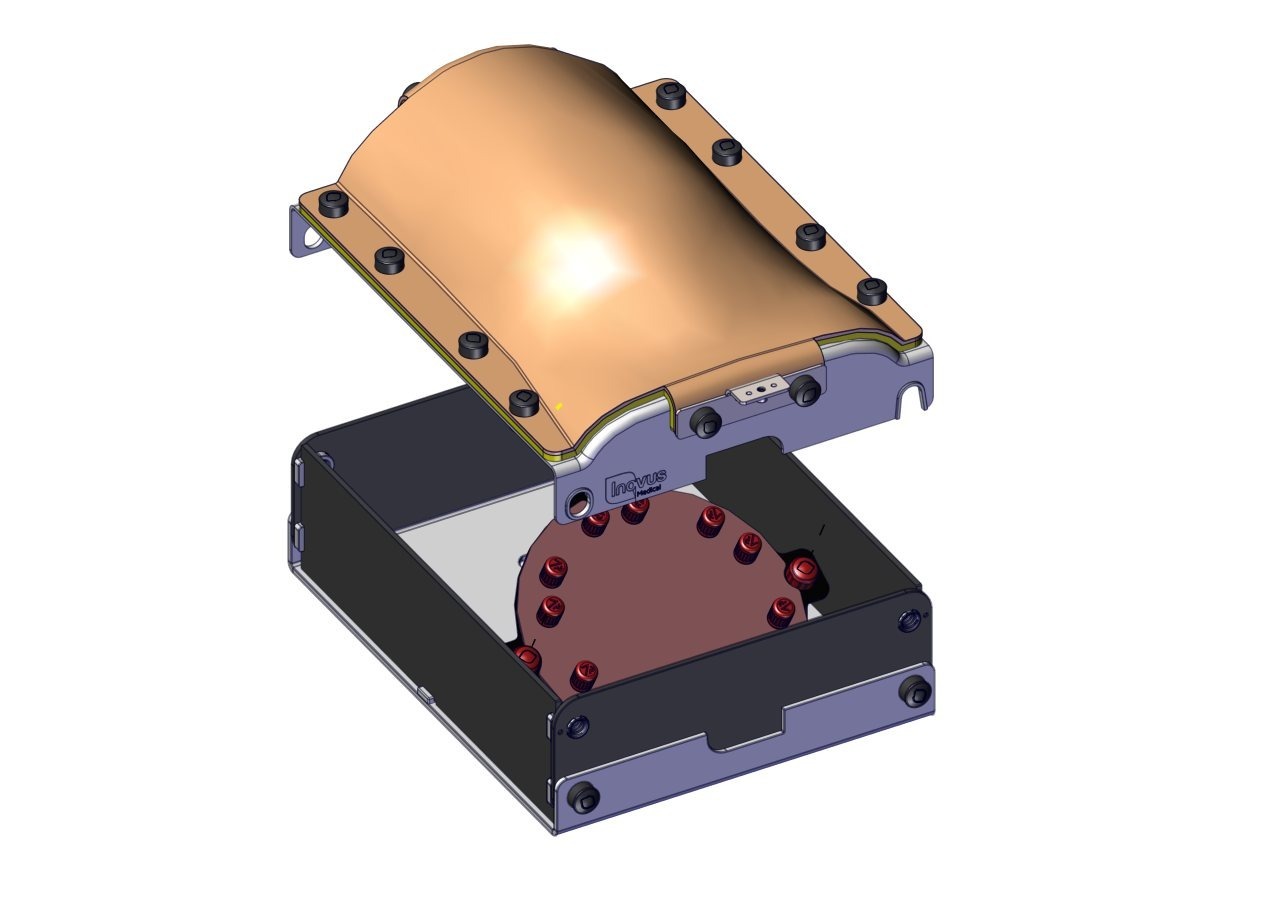
Step 12
Using the lock nuts included with the kit, insert and tighten the lock nuts on both the front and rear side of the cover.
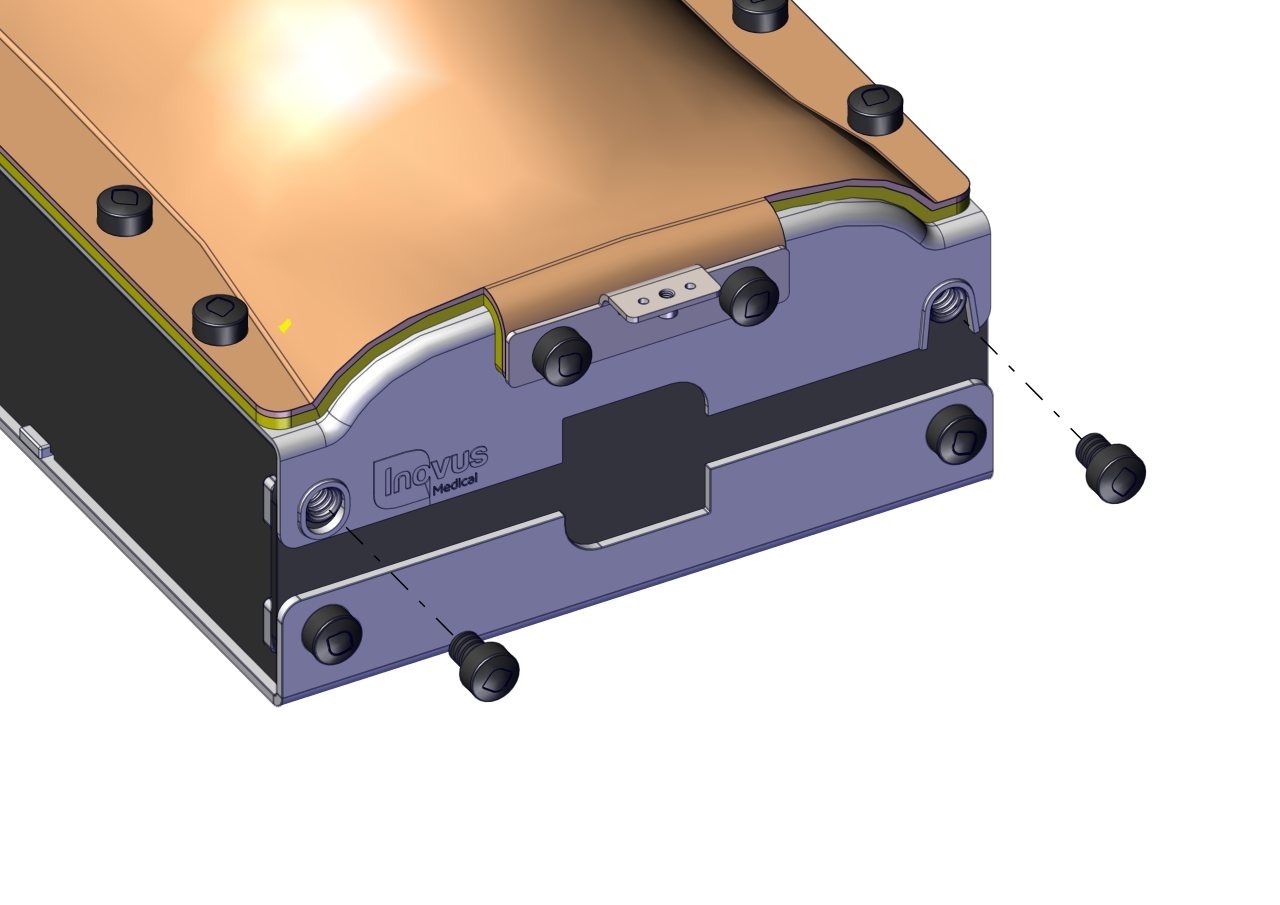
Step 13
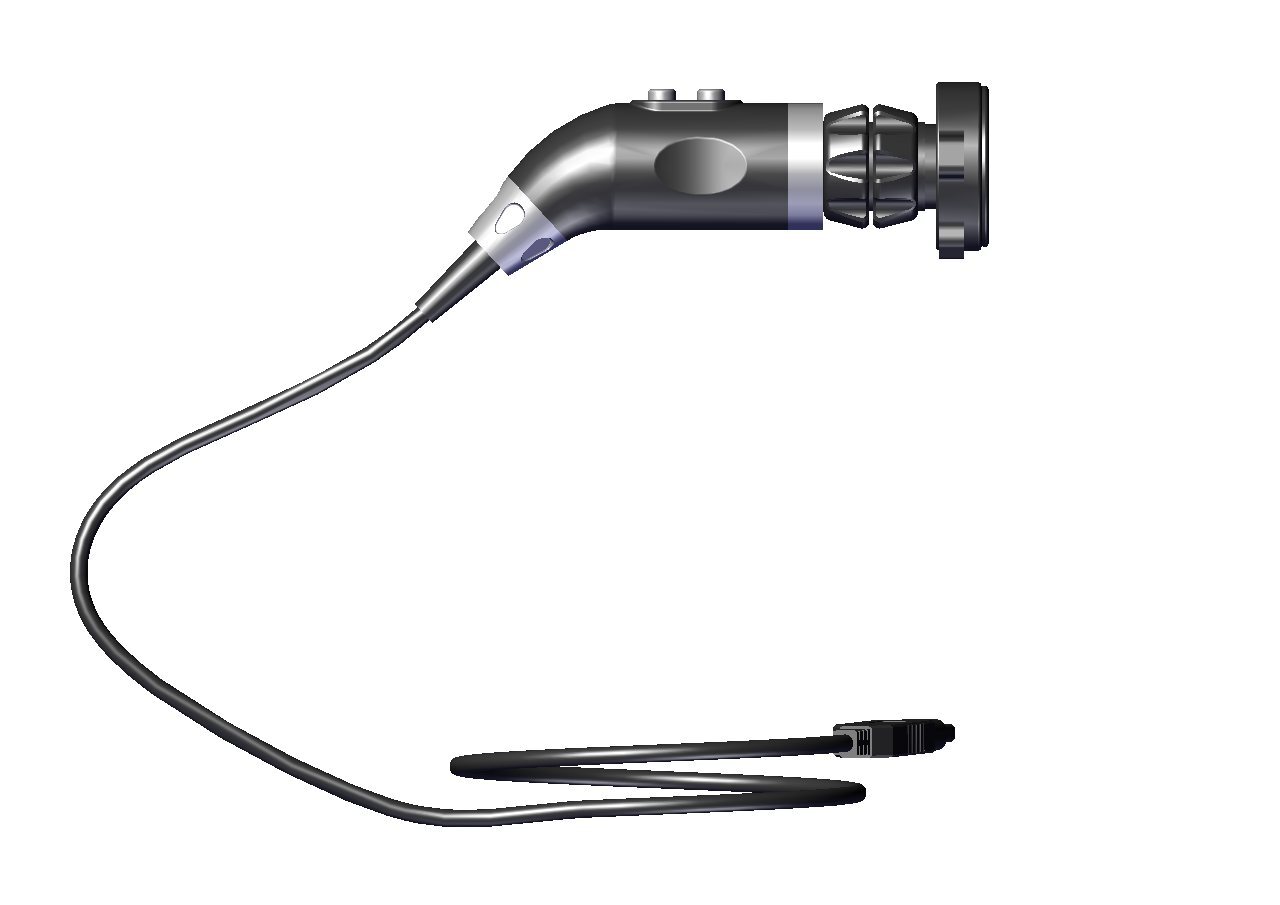
Locate the camera and carefully position the cable ready for connection.
Step 14
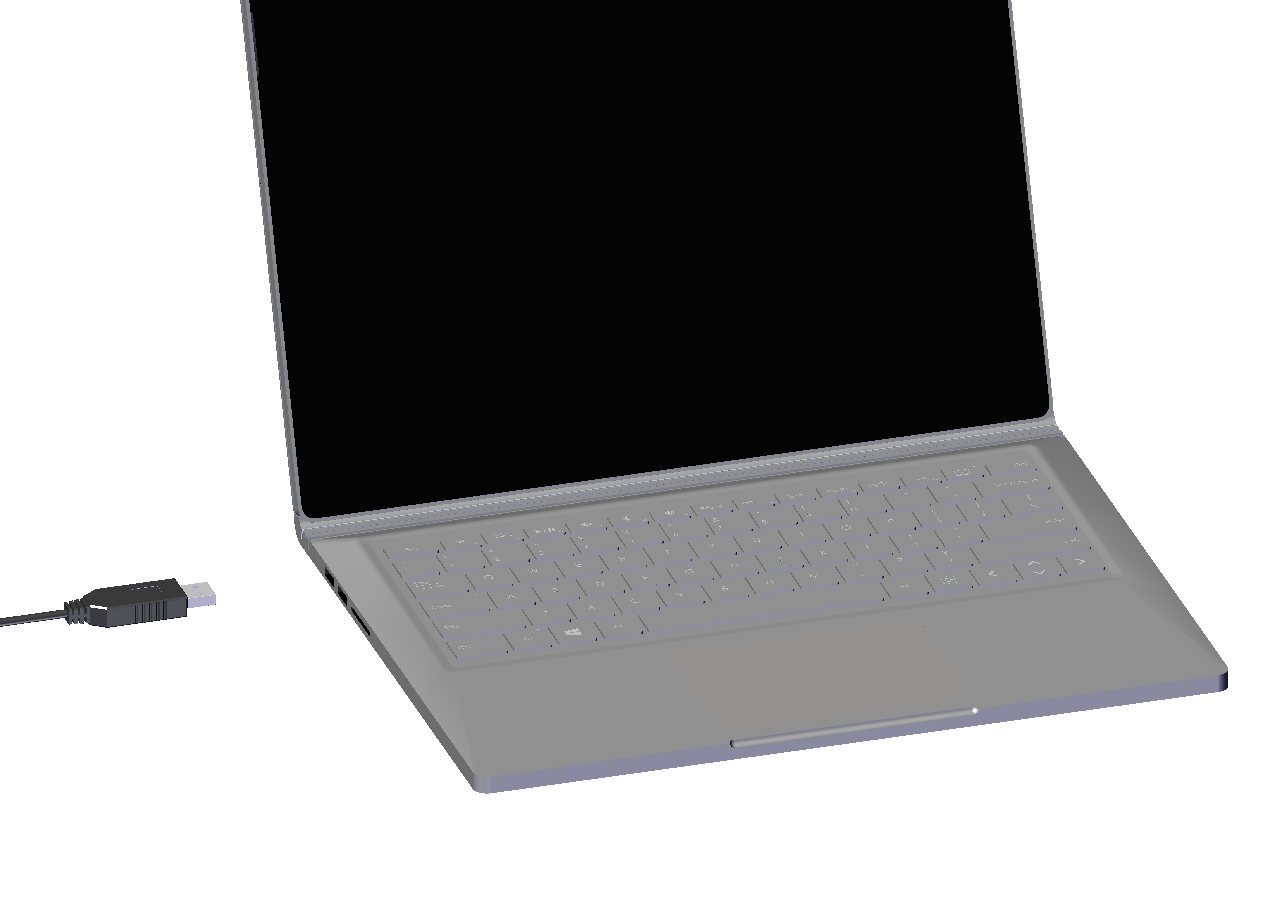
Position your laptop next to the MISHUB on a stable surface.
Step 15
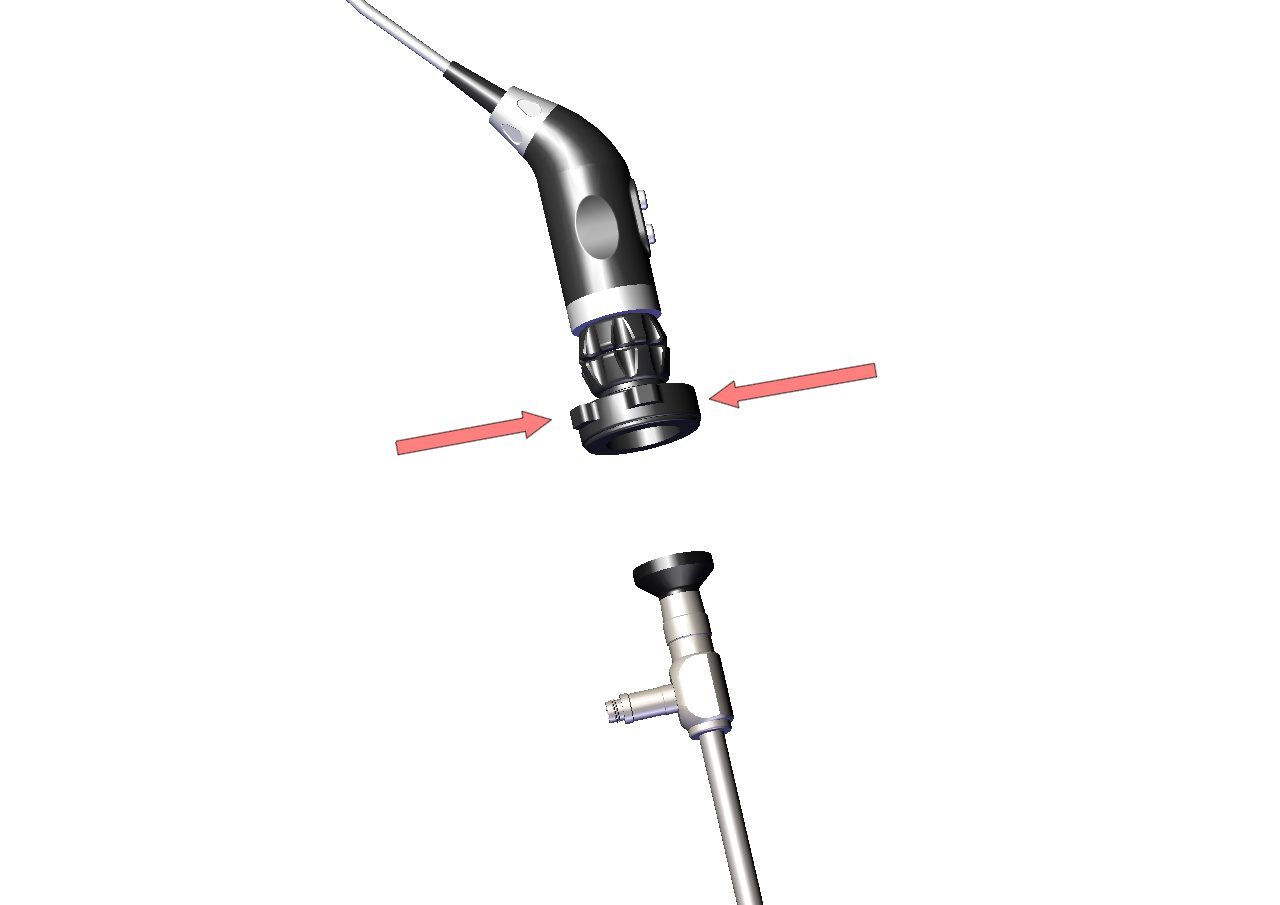
Position the camera over the eyepiece of the laparoscope.
Step 16
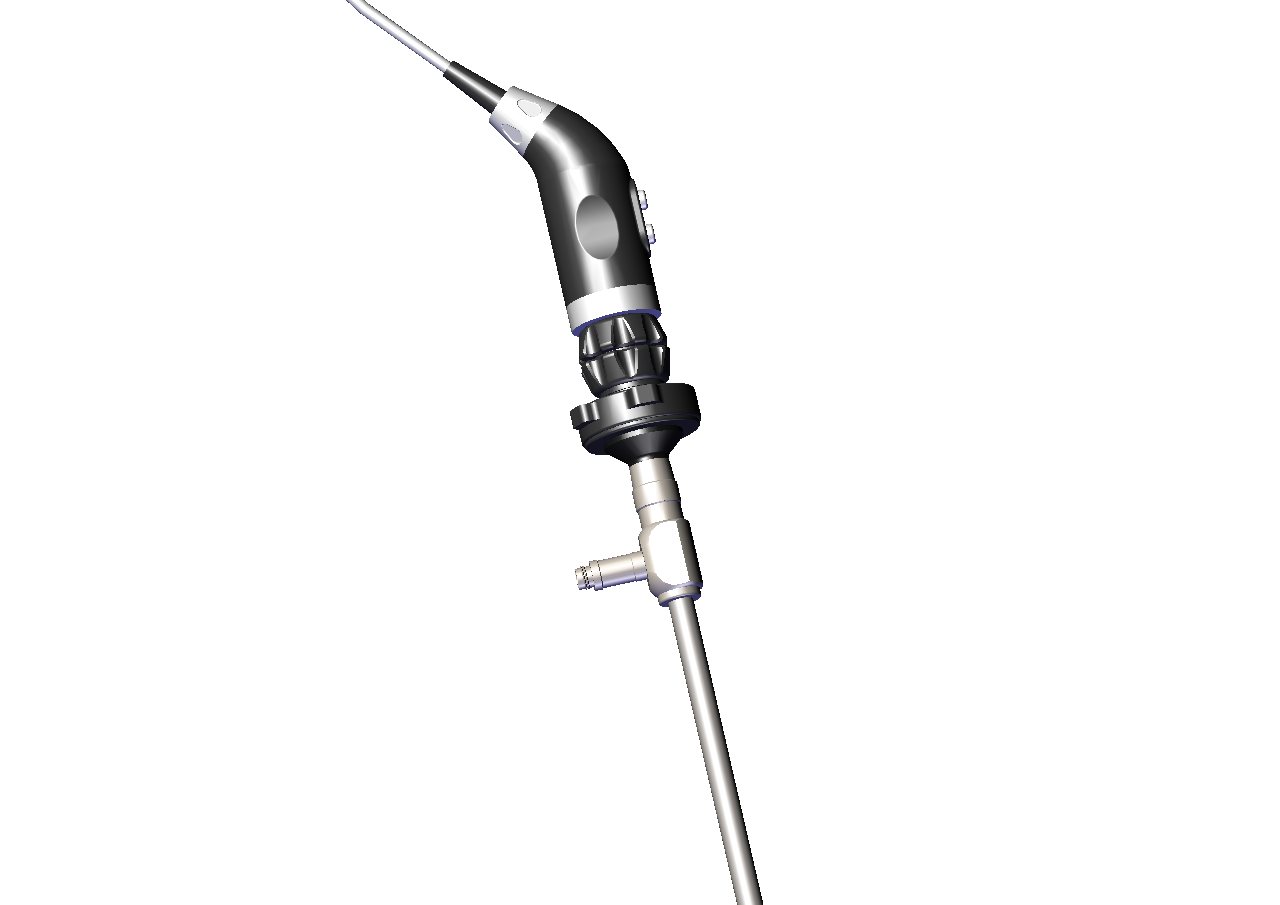
Ensure the camera is fully seated and securely attached to the laparoscope.
Step 17
Connect the camera USB cable to an available USB port on the laptop.
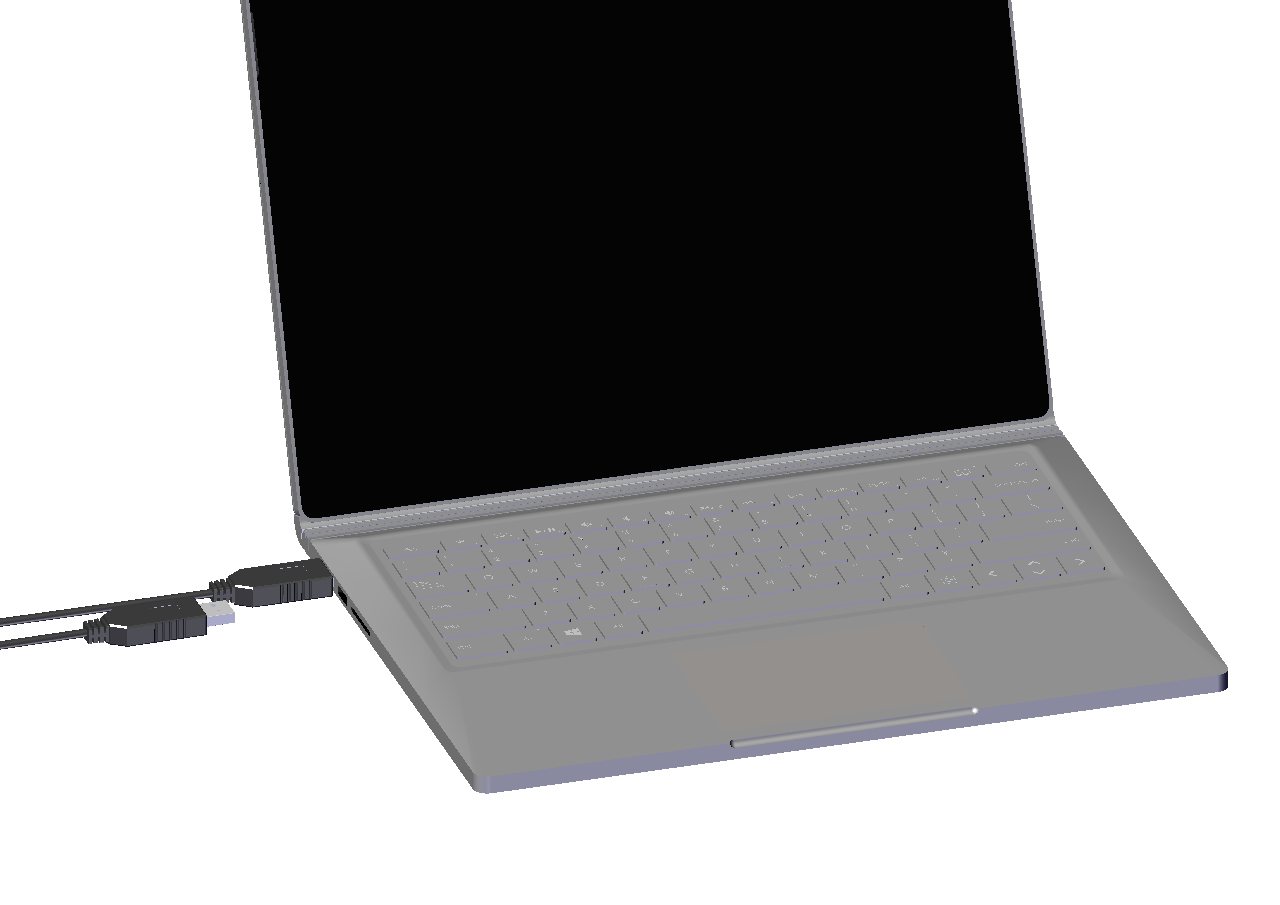
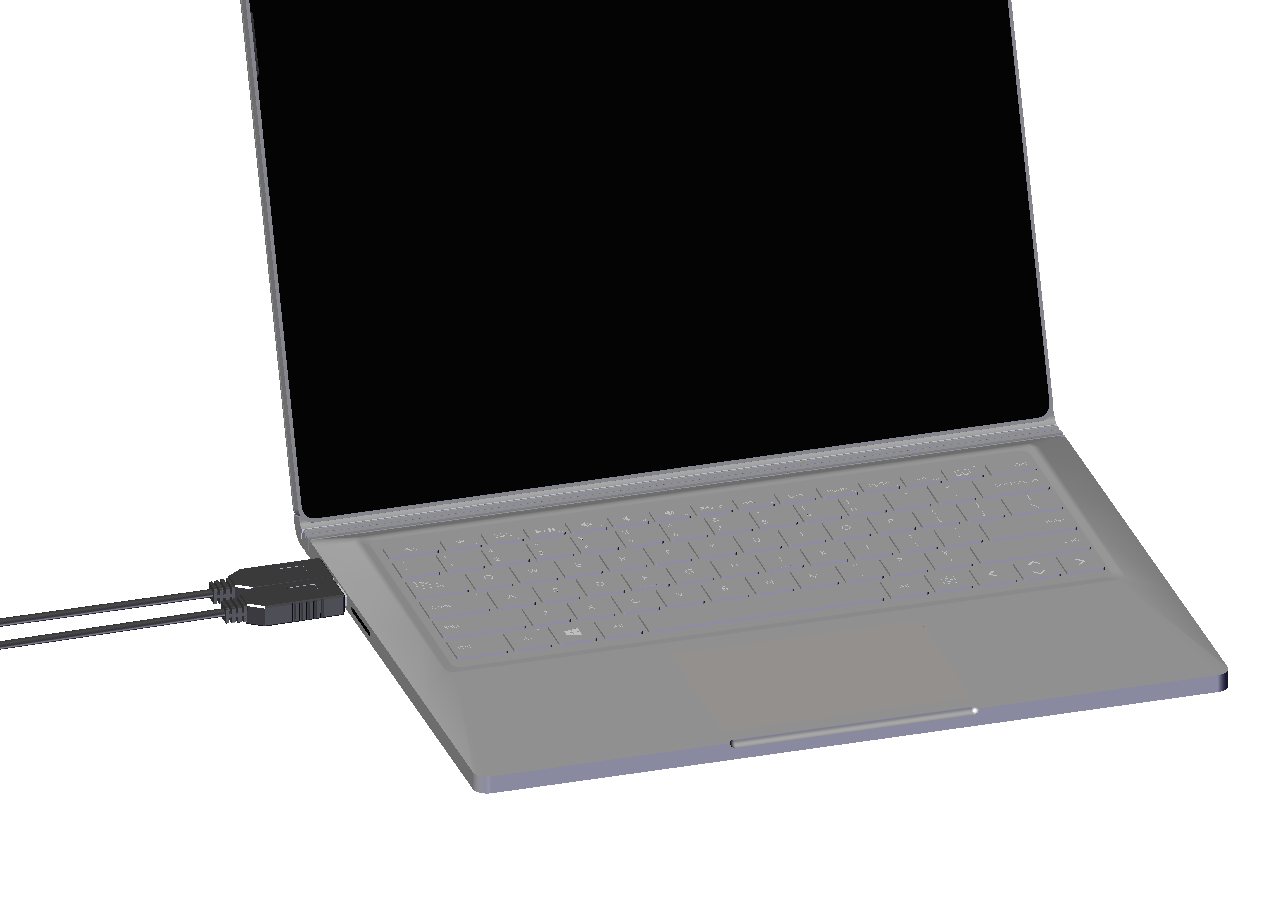
Step 18
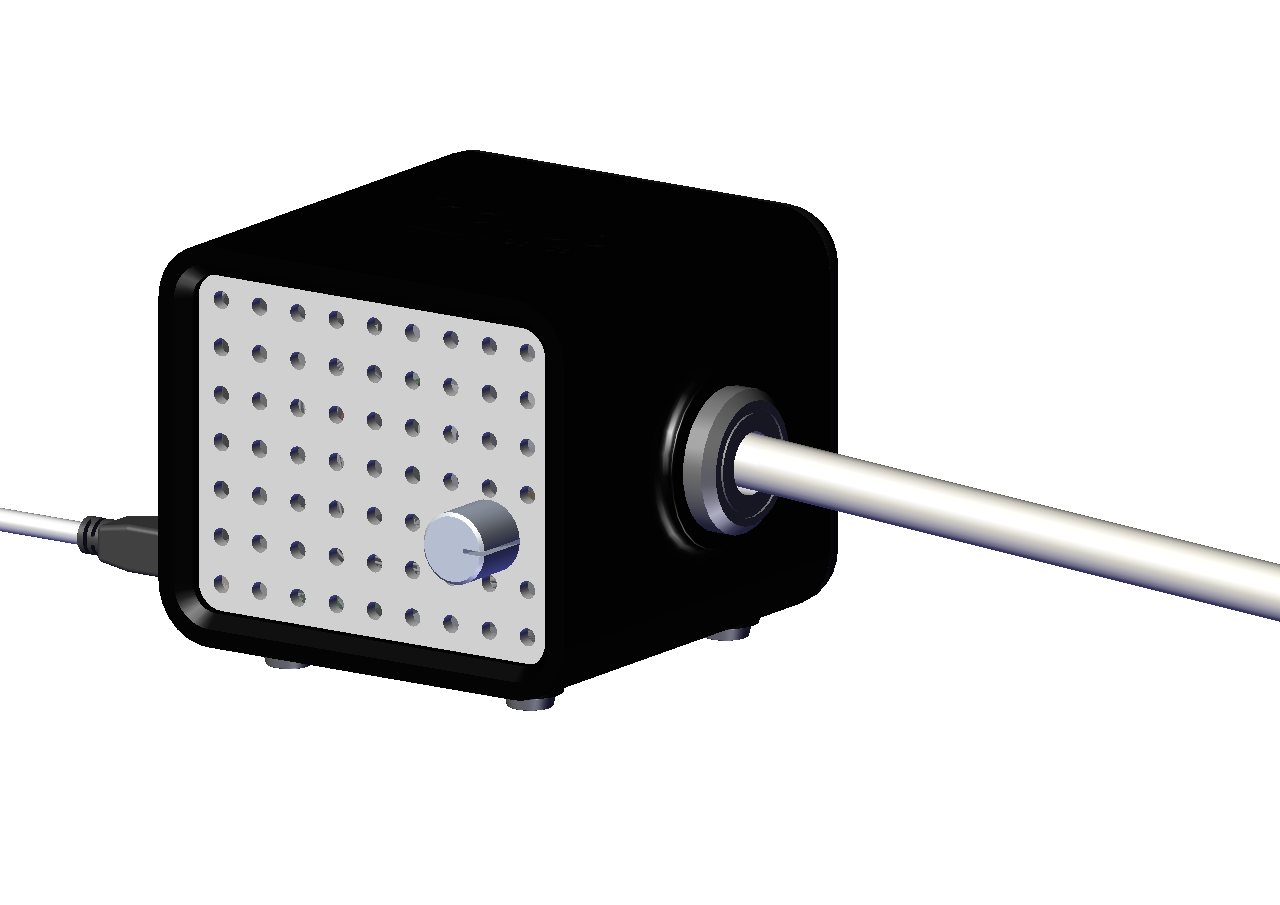
Connect the light source USB cable to a second available USB port on the laptop.
Step 19
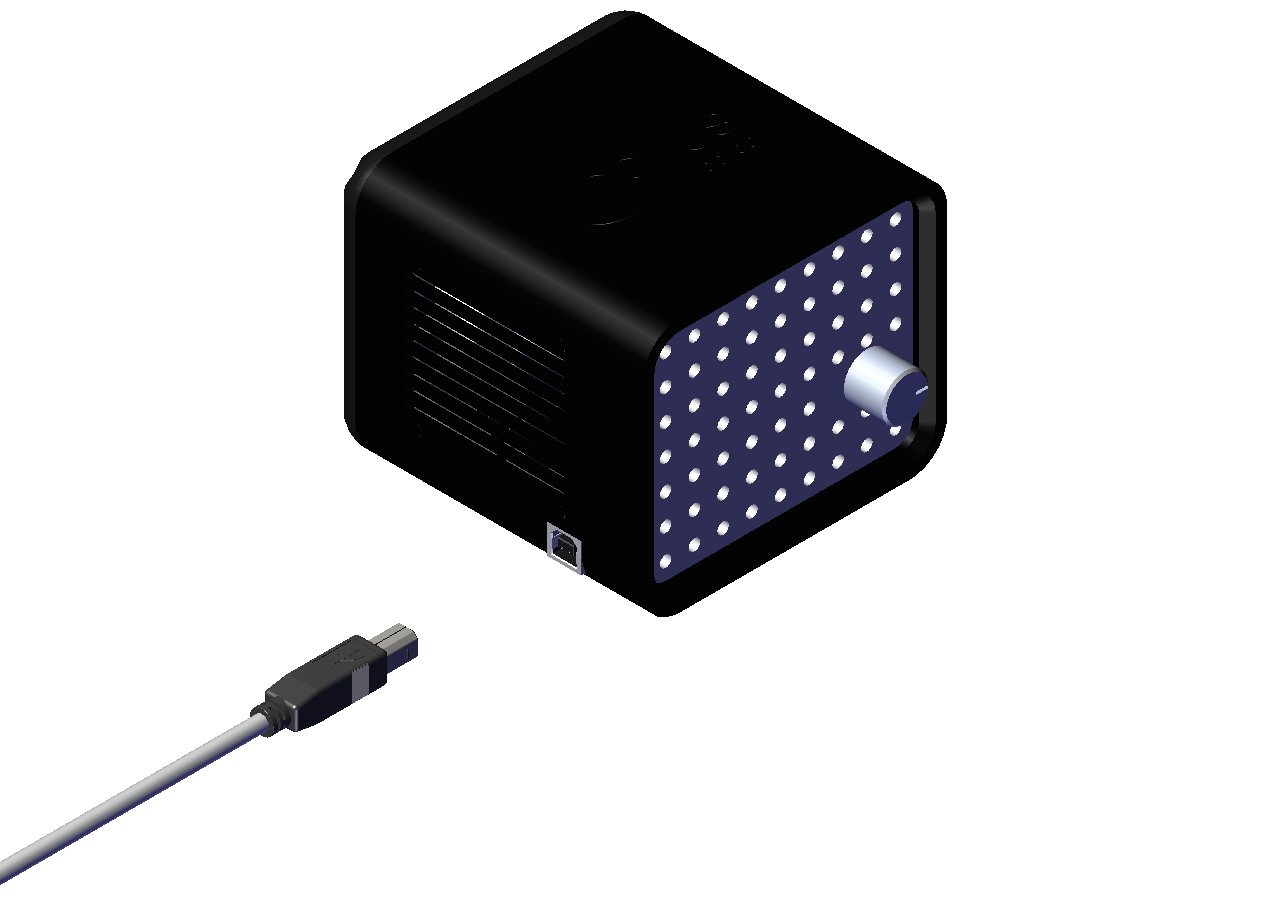
Position the light source next to the MISHUB on a stable surface.
Step 20
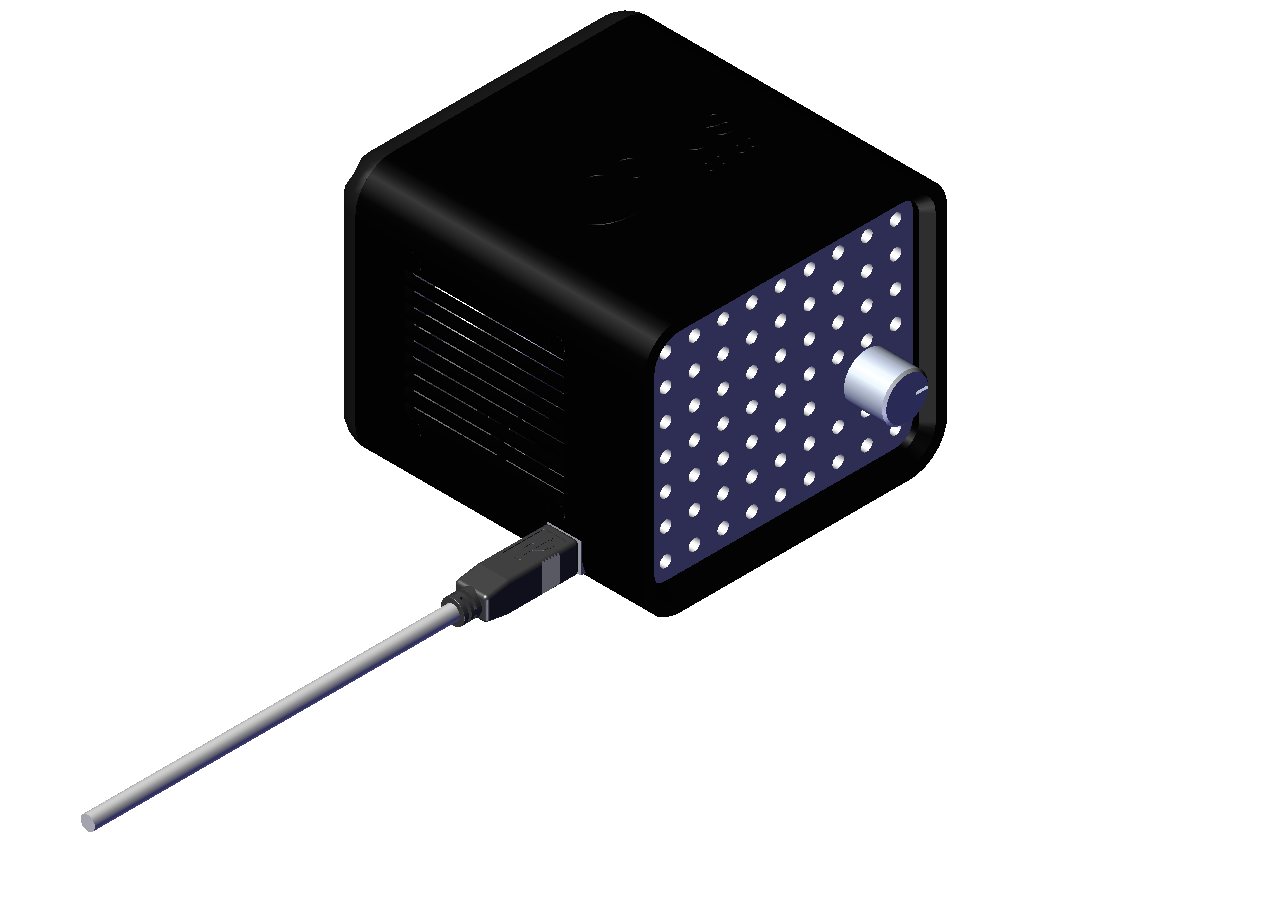
Connect the USB cable securely to the light source.
Step 21
Insert the light guide cable into the light source.
Community Discussions (0)
Real-world experiences from other users around this article.
Did this solve your problem?