

HystAR Setup Manual
Assemble the HystAR bracket, uterus model, camera and light source.
Welcome to the step-by-step assembly guide for the HystAR. Whether you prefer step by step instructions or a video demonstration, this guide will walk you through the assembly process.
Before you begin, take a moment to review the package's contents and acquaint yourself with the included components. The following content has been crafted to provide you with all the insights required to transform individual parts into a functional and invaluable tool for honing your surgical skills.
Step 1
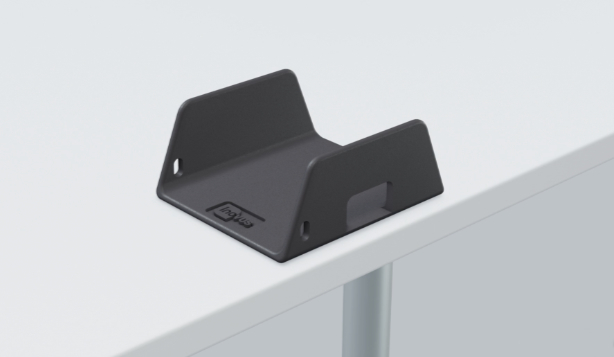
Begin by placing the U-shaped bracket on a suitable flat surface.
Step 2
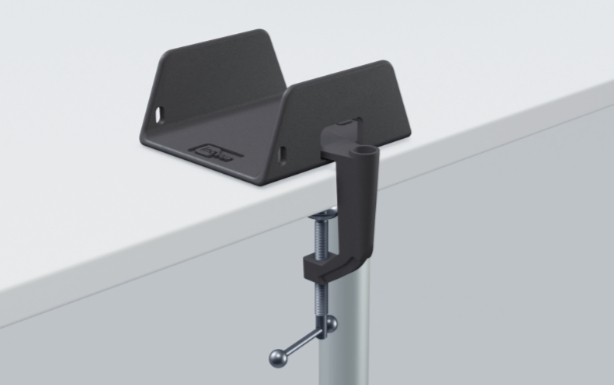
Place the top portion of the small clamp through the opening at the front of the bracket, as illustrated.
Step 3
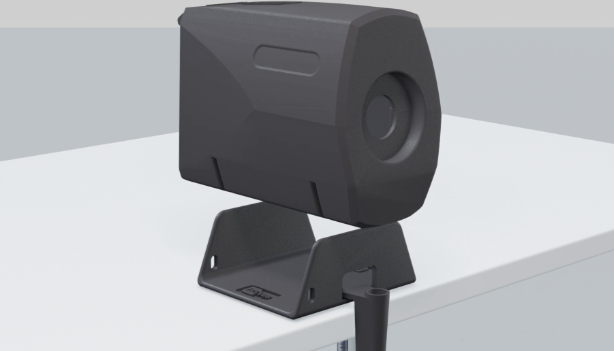
Place the retaining case onto the U-shaped bracket as shown.
Step 4
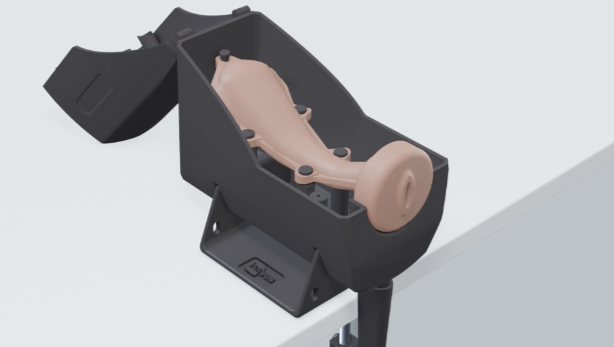
You are now ready to place a uterus model inside the case. Hook the loops of the model onto the internal fixings so that it is held securely in place.
Step 5
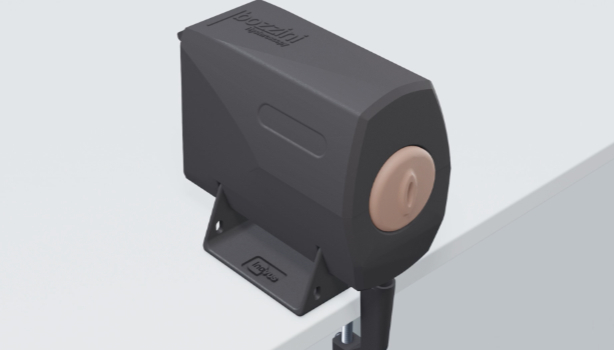
The Bozzini jig is now ready for use.
Step 6
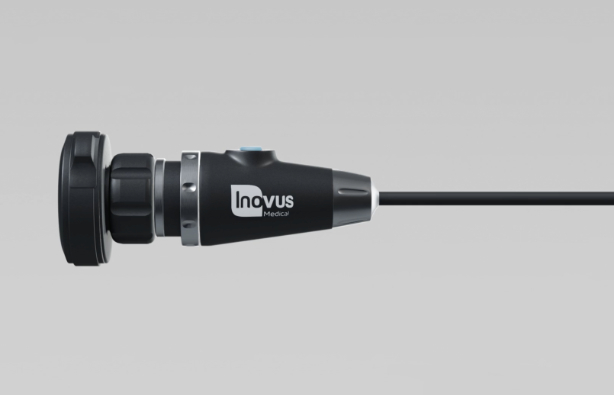
Unpack the camera and uncoil the cable.
Step 7
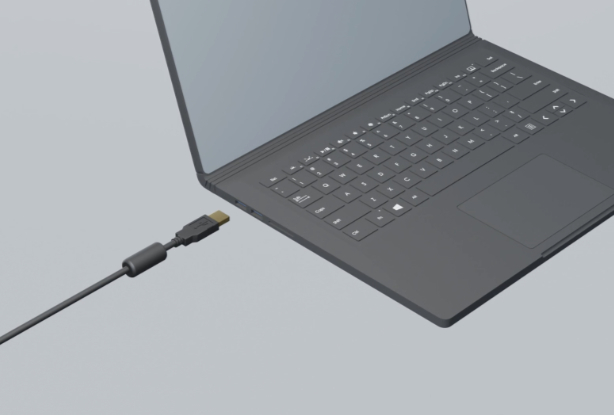
Insert the USB connector into your laptop; you may require use of a USB-C adapter which is provided.
Step 8
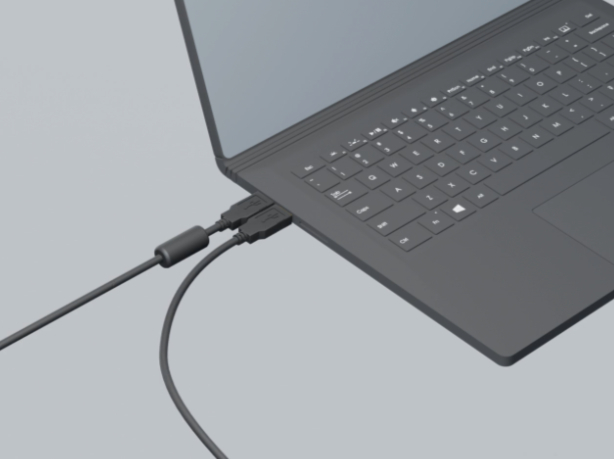
Insert the light source lead into the laptop as shown.
Step 9
Connect the other end to the light source itself.
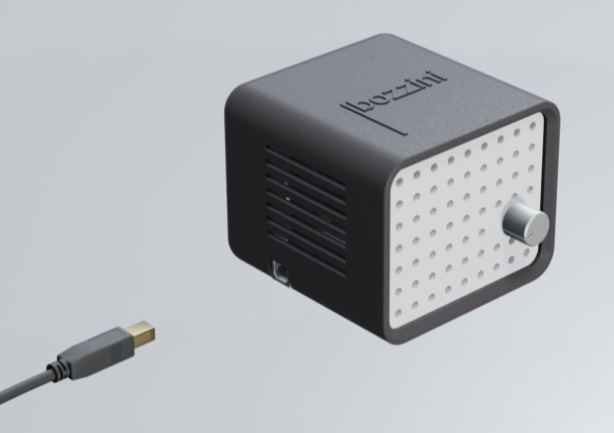
Step 10
Plug in the male end of the fibreoptic cable into the light source box.
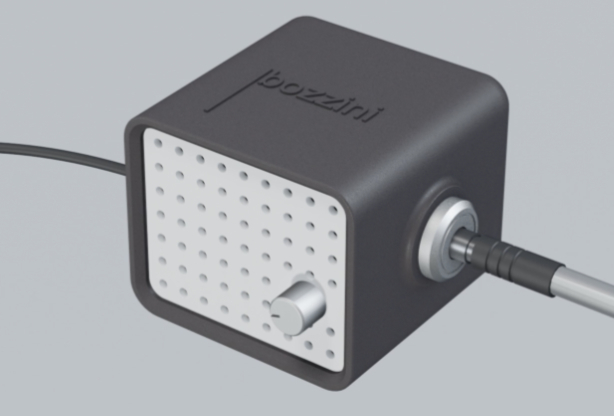
Step 11
Remove the introducer from the packaging.
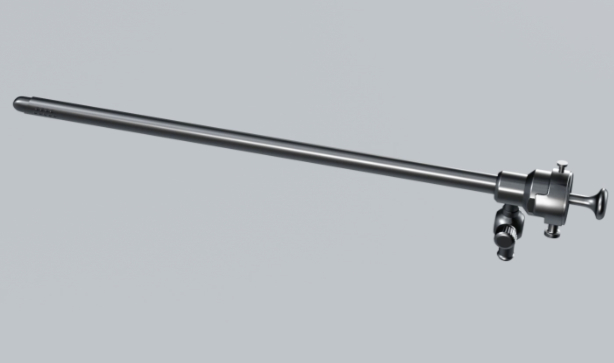
Step 12
Ensure the introducer is placed inside of the sheath as illustrated here. Rotate the latch in a clockwise direction to ensure the two components are securely connected.
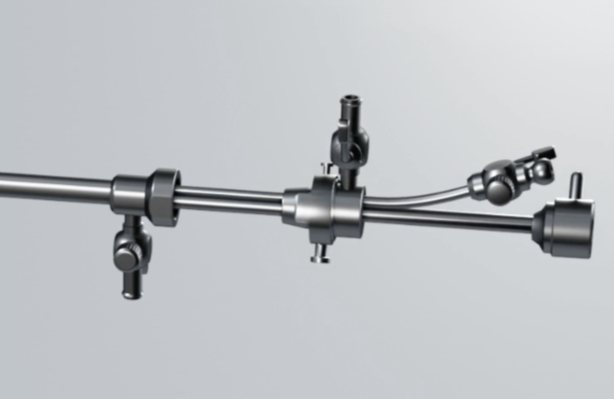
Step 13
You are now ready to insert the scope into the introducer. Once the scope is fully inside, ensure it is locked in place using the latch.
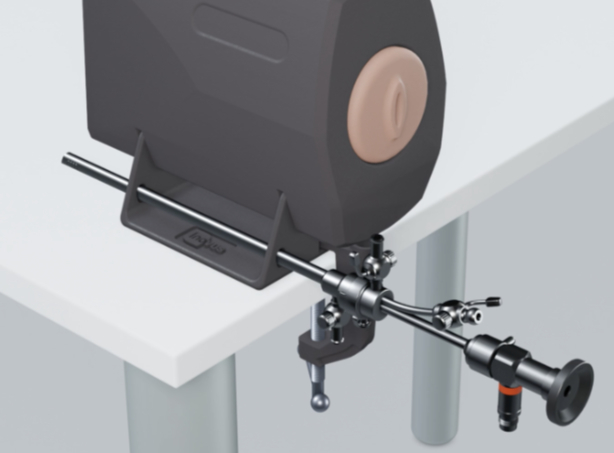
Step 14
Connect the endoscopic camera to the scope by pinching the two clasps.
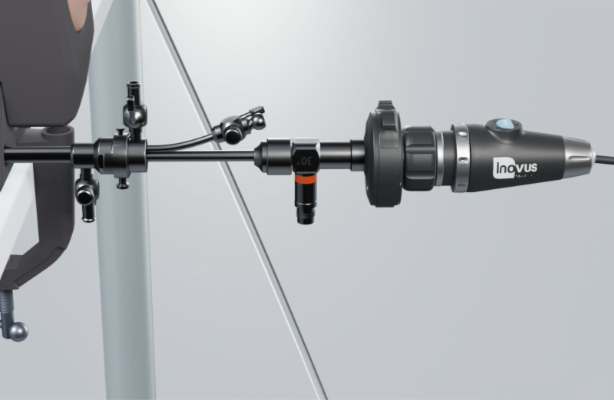
Step 15
Attach the other end of the fibreoptic cable to the connector on the scope by screwing it in place. At this stage, you are ready to turn the light source on.
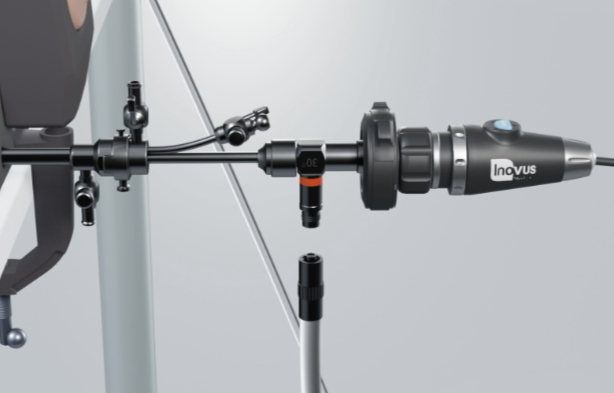
Step 16
Set up is now complete and you are ready to power up your laptop.
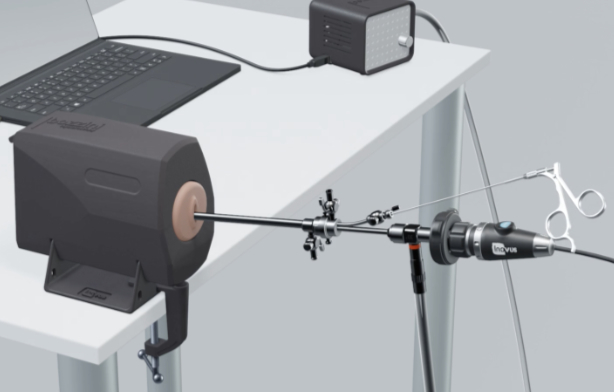
Related articles
Community Discussions (0)
Real-world experiences from other users around this article.
Did this solve your problem?