

Bozzini Hysteroscopy Basic Simulator Setup
Assemble the Bozzini Hysteroscopy Basic drip tray simulator.
Welcome to the step-by-step assembly guide for the Bozzini Hysteroscopy Basic Simulator. Whether you prefer step by step instructions or a video demonstration, this guide will walk you through the assembly process.
Before you begin, take a moment to review the package's contents and acquaint yourself with the included components. The following content has been crafted to provide you with all the insights required to transform individual parts into a functional and invaluable tool for honing your surgical skills.
Step 1
Begin the assembly of your Bozzini Hysteroscopy Basic simulator by sliding the white acrylic plate through the slot at the rear of the drip tray, remembering to stop halfway before progressing to Step 2.
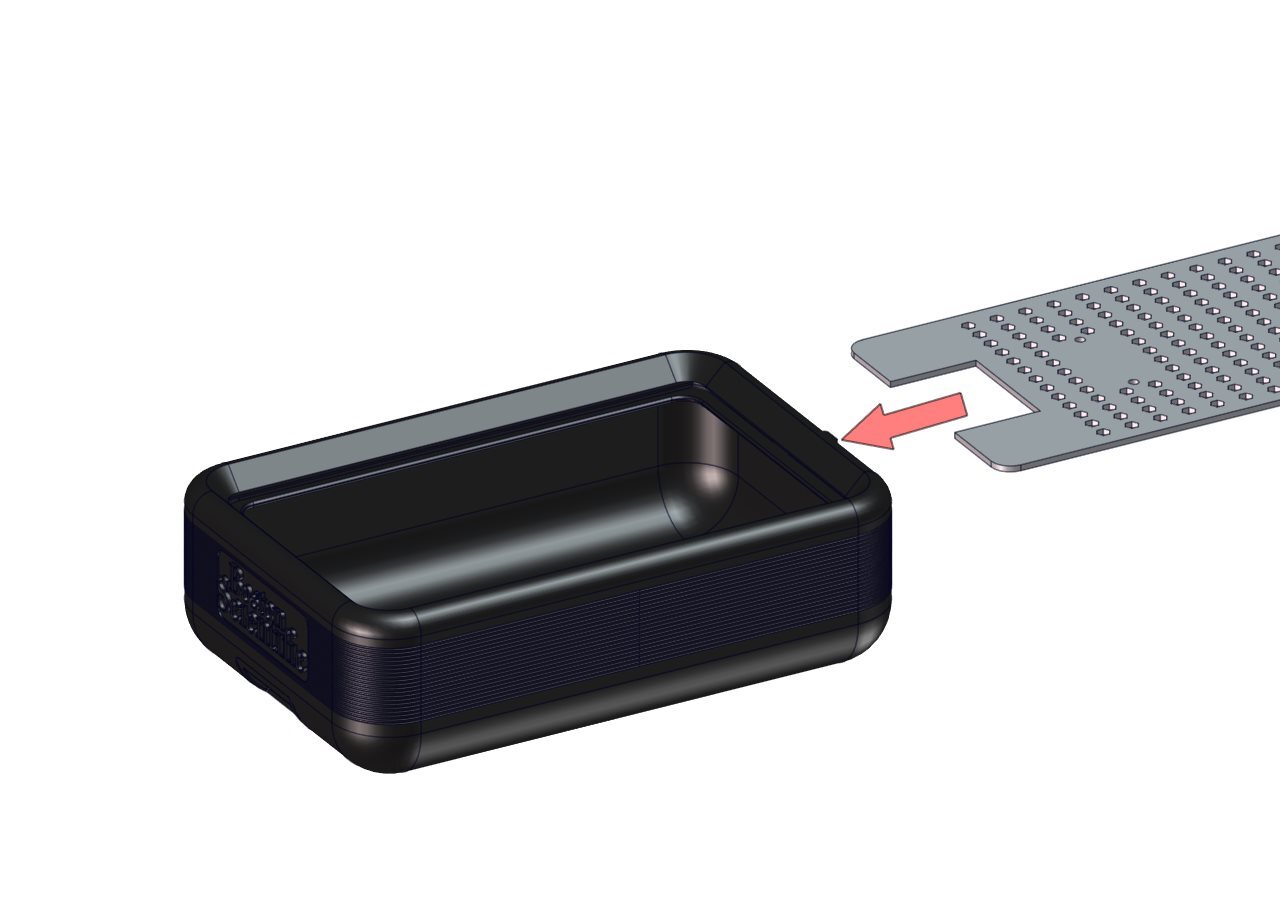
Step 2
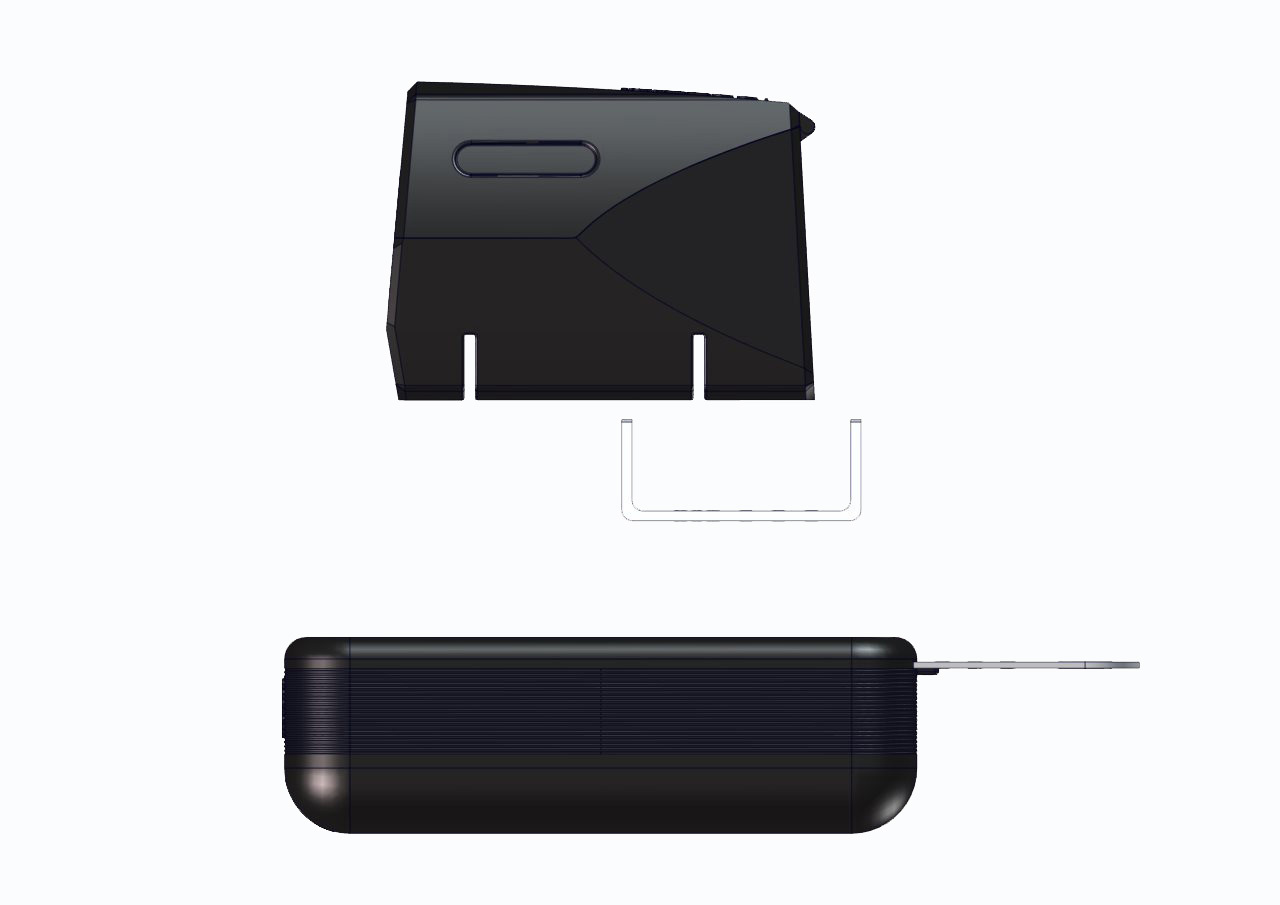
With the acrylic plate positioned halfway into the drip tray, place the U-shaped bracket onto the plate and align the two circular bolt holes on the bracket with those on the plate.
Step 3
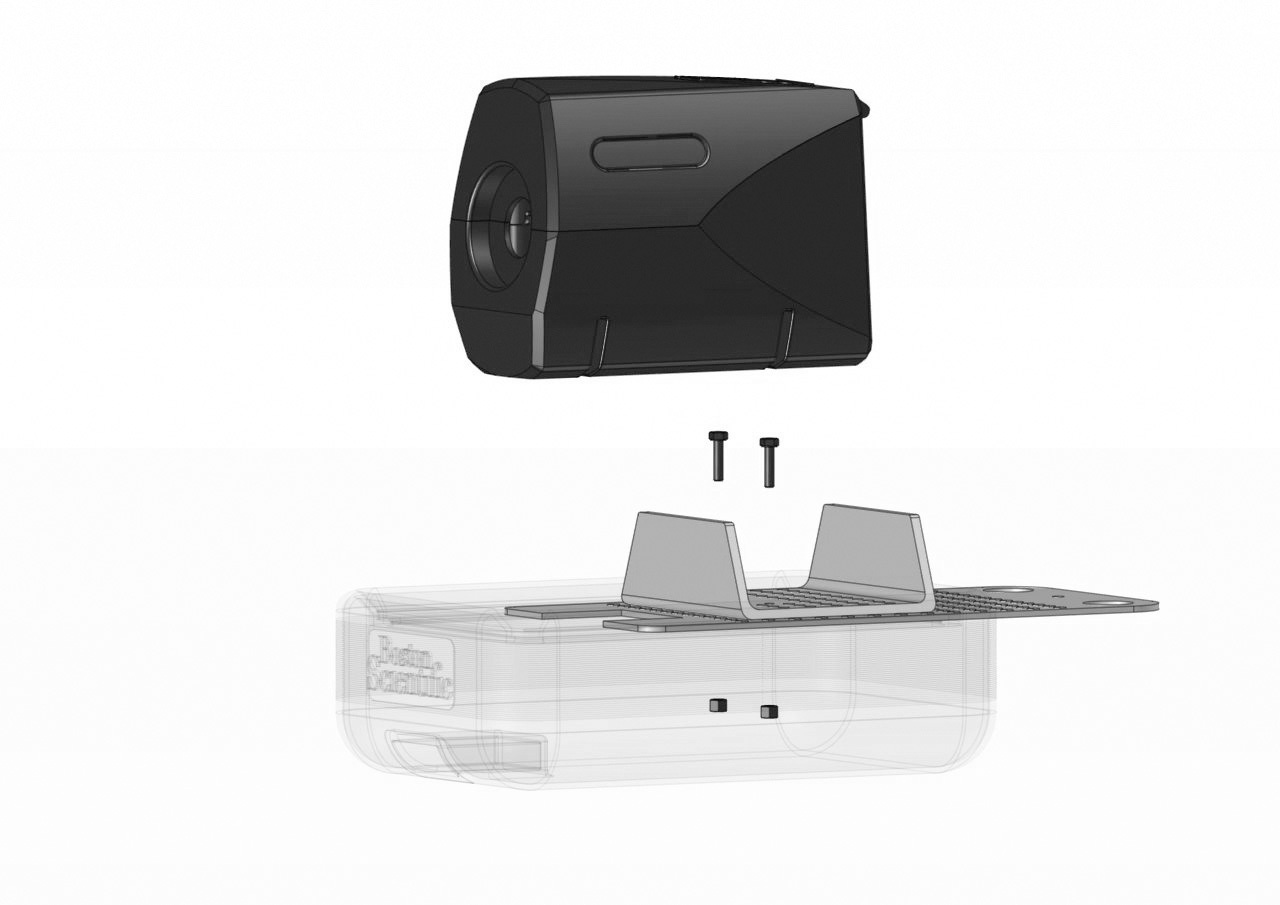
Using 2 x 00000640 bolts and 2 x 00001159 nuts provided, secure the bracket to the plate.
Step 4
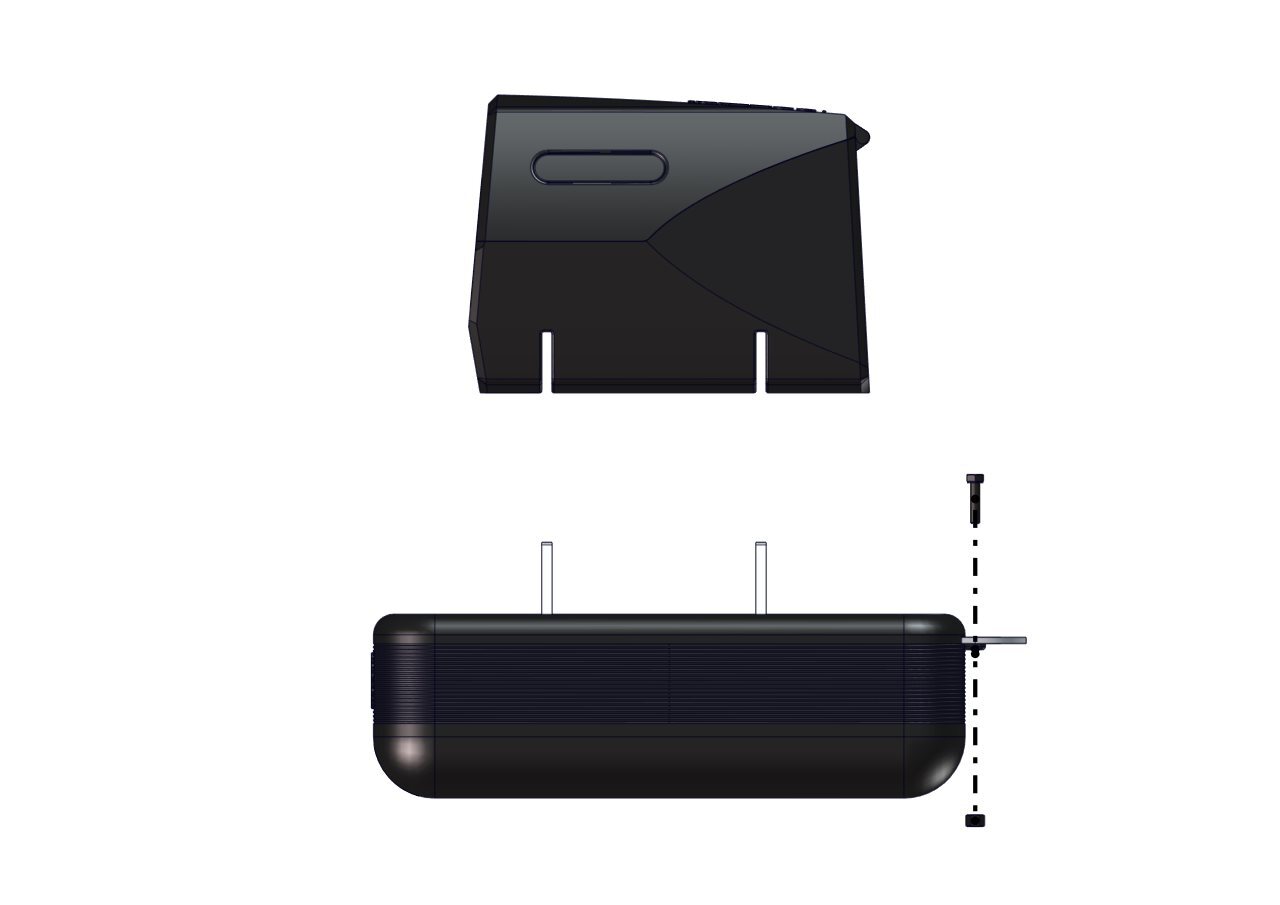
Use the remaining bolt and nut to secure the acrylic plate at the rear of the drip tray. This ensures that the plate remains stationary while the simulator is in use.
Step 5
You may now place the uterus housing onto the U-shaped bracket. Please note this is a push fit fixture.
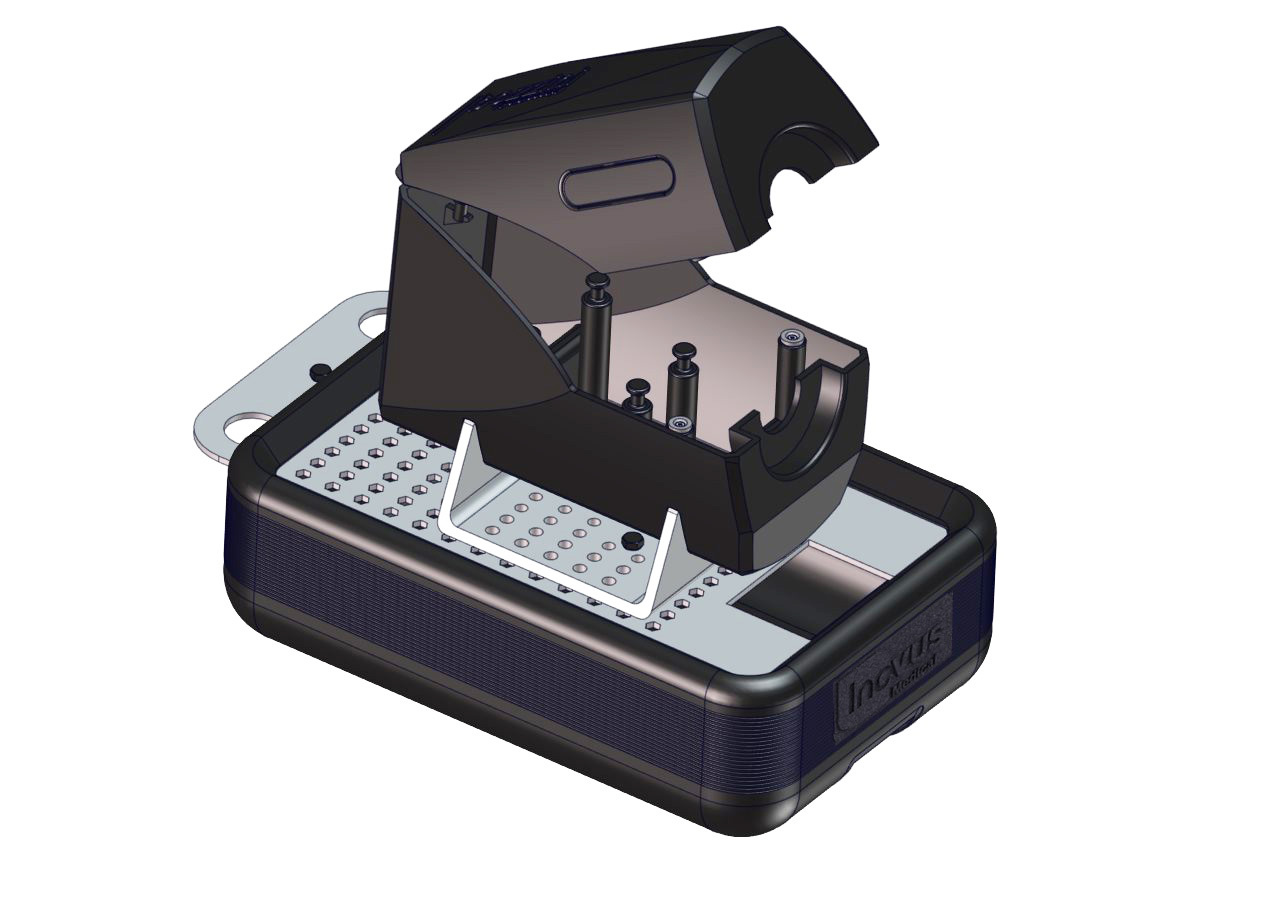
Step 6
Secure one of the uterus models within the housing by hooking the loops onto the internal fixings.
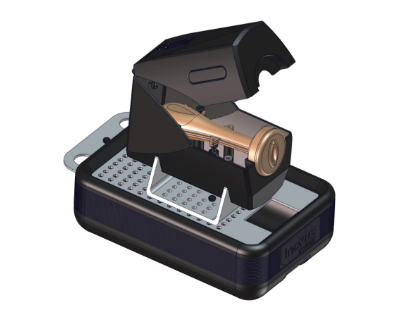
Step 7
Place the simulator onto a suitable surface for use.
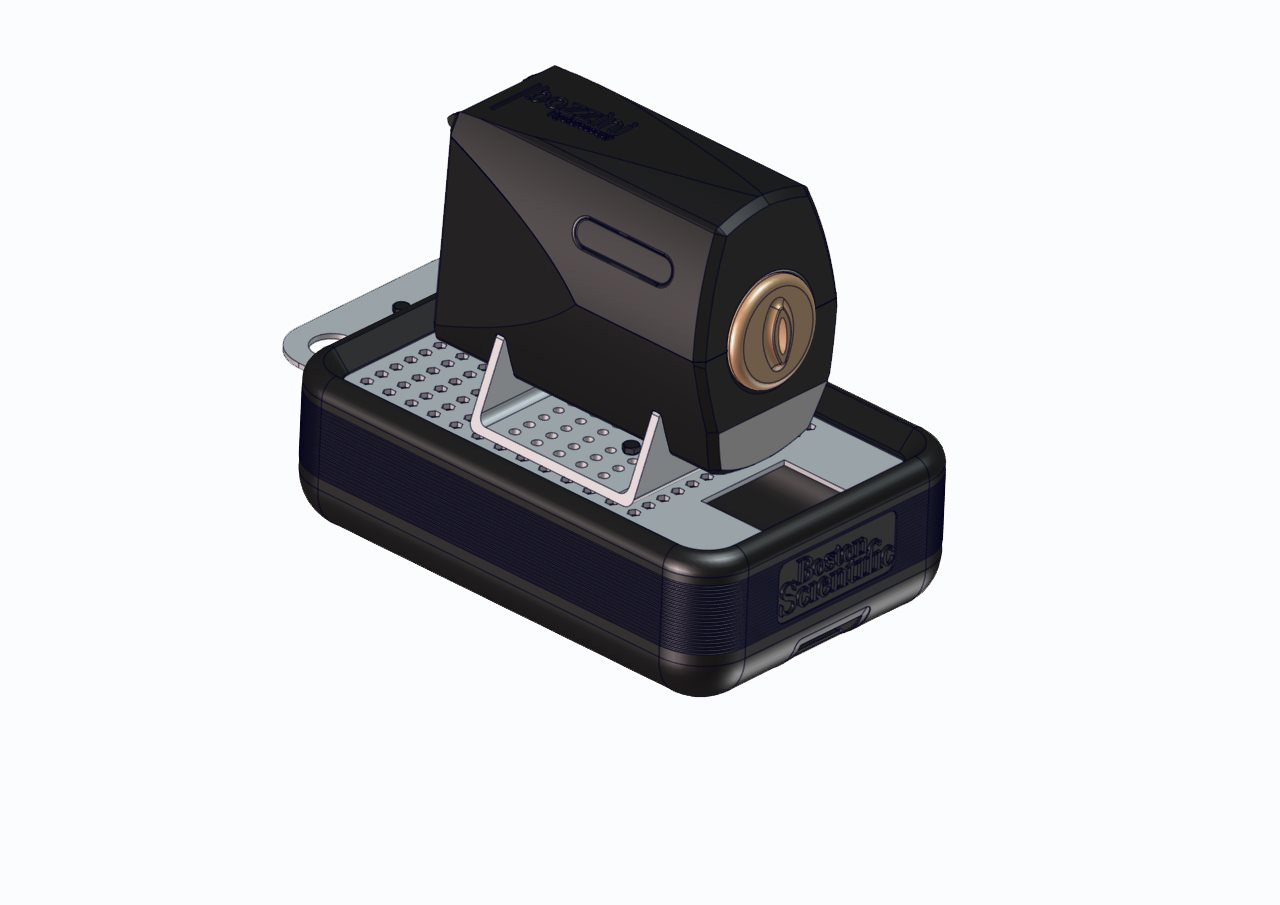
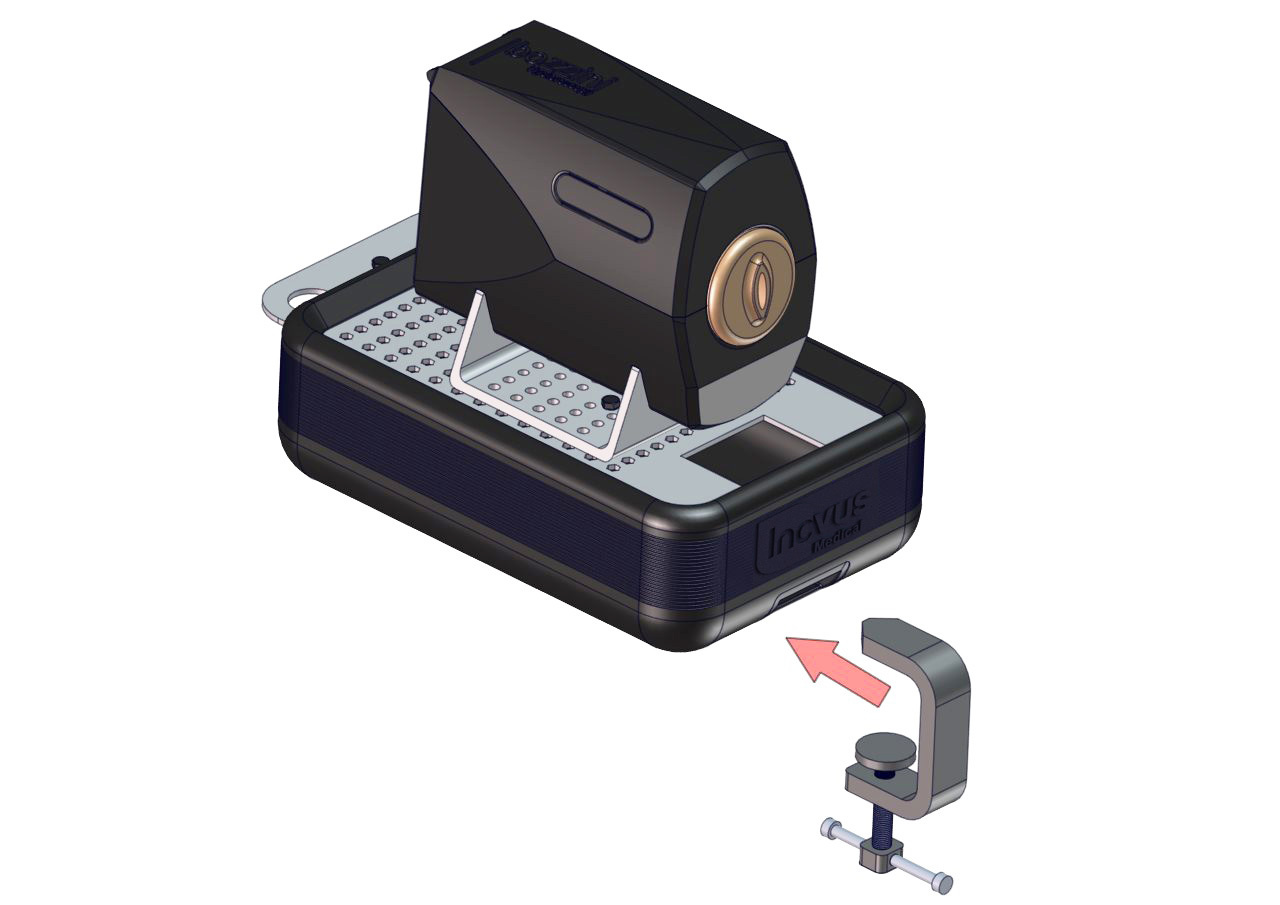
Step 8
Using the clamp provided, anchor the simulator at the front of the drip tray. This should prevent movement during use.
Related articles
Community Discussions (0)
Real-world experiences from other users around this article.
Did this solve your problem?